
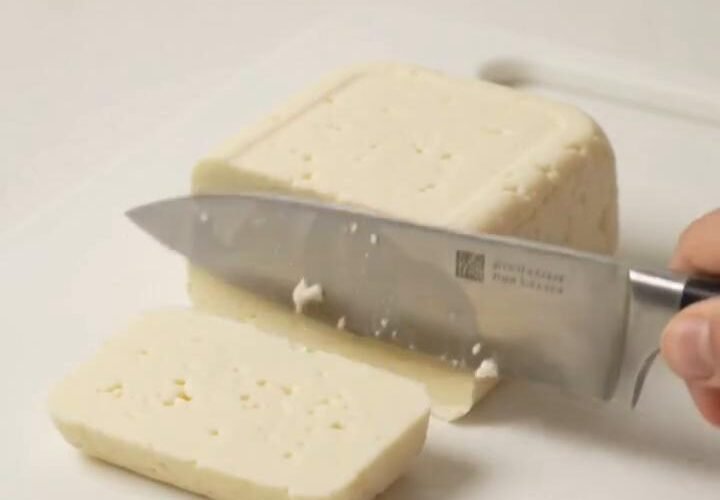
Homemade cheddar cheese starts with milk and patience. This guide makes a small batch of white cheddar with a mild, creamy flavor that develops as it ages. The process is manageable when you prepare your equipment first and work through one stage at a time. Allow a full cheesemaking day, an extended press, and several months of controlled aging; the sliced cheese is the finished result, not a same-day vinegar cheese.
Recipe Details
Yield: About 2 pounds, depending on milk and moisture | Cheesemaking: About 5–6 hours | Pressing: About 36 hours | Drying: 2–3 days, as needed | Aging: About 3 months for a mild cheese
Ingredients
- 2 US gallons (7.6 liters) pasteurized whole cow’s milk, not ultra-pasteurized or UHT
- Mesophilic cheddar starter culture, the manufacturer’s dose for 2 gallons; use ¼ teaspoon MA11 only if your product label specifies that dose
- ½ teaspoon single-strength liquid rennet, diluted in ¼ cup cool non-chlorinated water just before use; adjust only according to your rennet label
- Food-grade cheesemaking calcium chloride solution, the label’s dose for 2 gallons of pasteurized milk, diluted separately in ¼ cup non-chlorinated water
- Non-iodized cheese salt: 2% of the drained curd weight, measured in grams
Equipment and Planning
You need a large stainless steel pot, water-bath setup, accurate thermometer, curd knife, colander, cheesecloth, gram scale, and a 2-pound hard-cheese mold with a follower and press. A calibrated food pH meter helps you judge acid development. You also need a vacuum sealer and a dedicated, temperature-controlled cheese-aging refrigerator that holds 45–50°F (7–10°C). A small rectangular hard-cheese mold makes a block similar to the photo. Pressing loads depend on mold size; use a mold intended for a 2-pound batch.
How to Make Easy Homemade Cheddar Cheese
1. Clean and sanitize the equipment
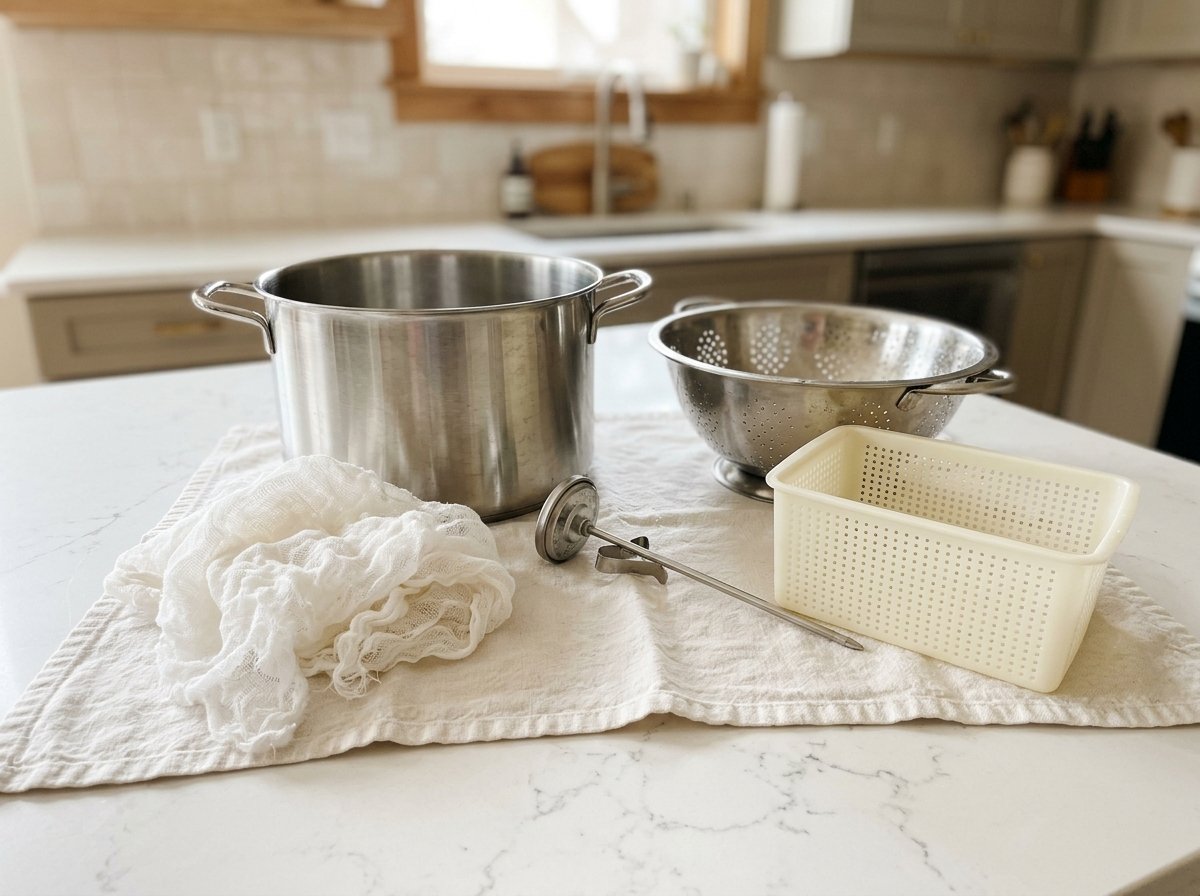
Wash your hands, pot, mold, cloth, and utensils. Sanitize food-contact equipment using a cheesemaking-safe method and the sanitizer manufacturer’s directions. Arrange the draining area before opening the milk.
2. Warm and culture the milk
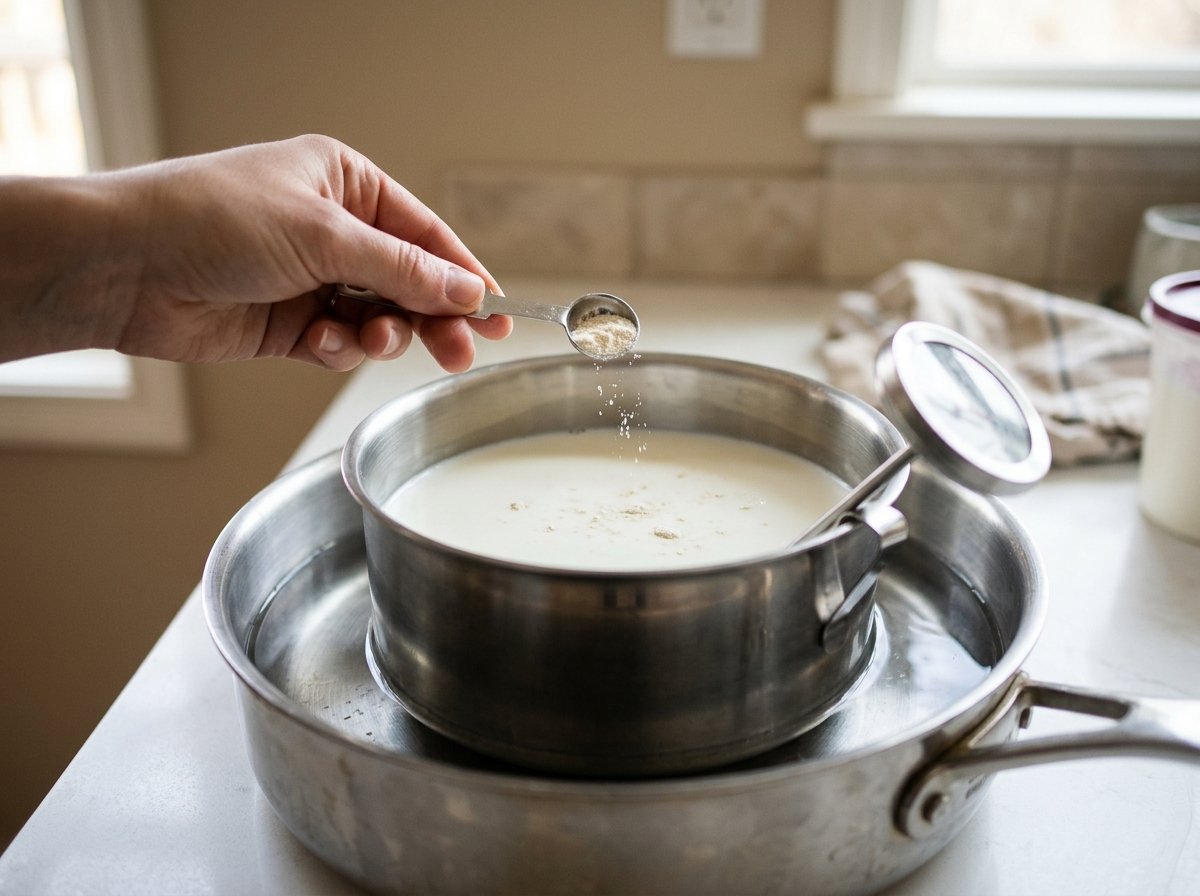
Warm the milk gently to 90°F (32°C). Stir in the diluted calcium chloride. Sprinkle on the starter, let it hydrate according to its label, then stir gently. Cover and hold at 90°F for 60–90 minutes.
3. Set the curd with rennet
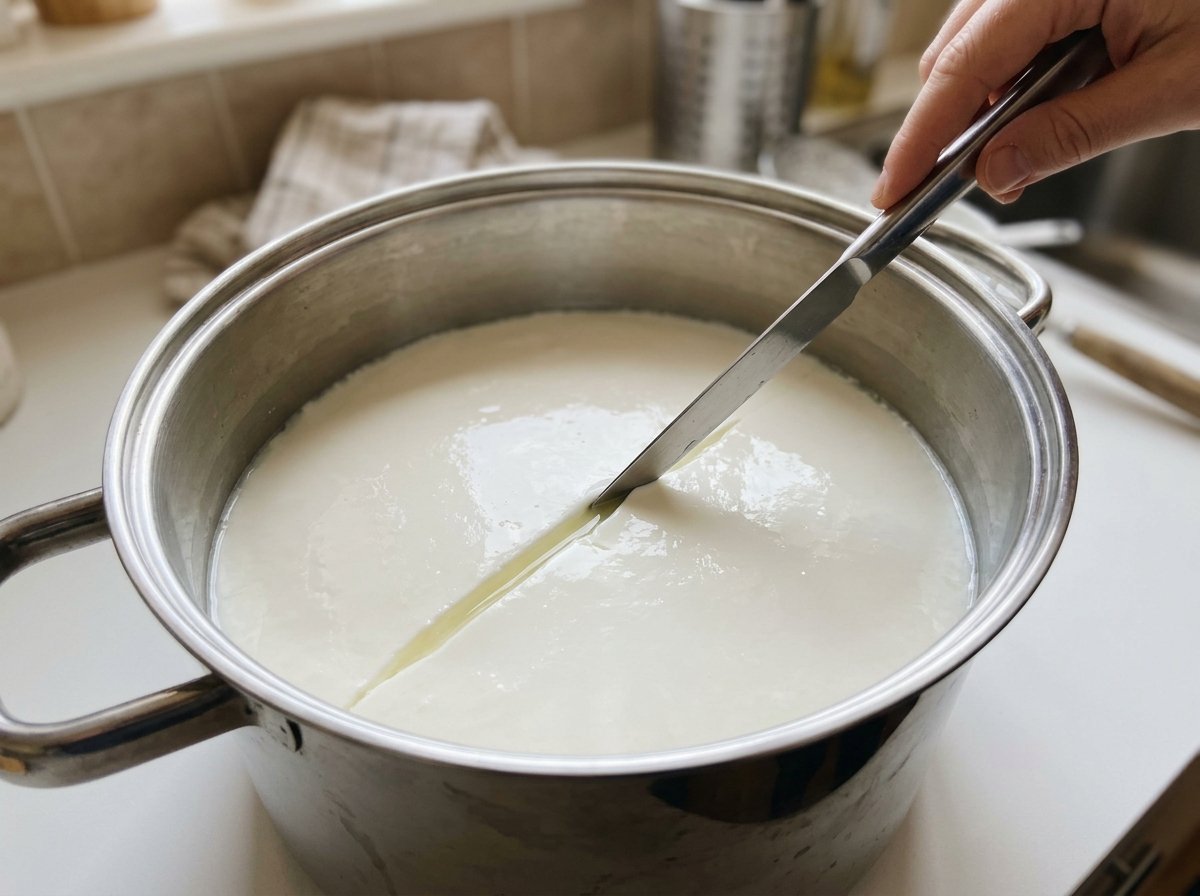
Check the milk is still 90°F. Stir in diluted rennet with gentle up-and-down strokes for about 1 minute. Stop the movement, cover, and leave undisturbed for about 40–45 minutes, until the curd gives a clean break. Allow more setting time if needed.
4. Cut and rest the curds
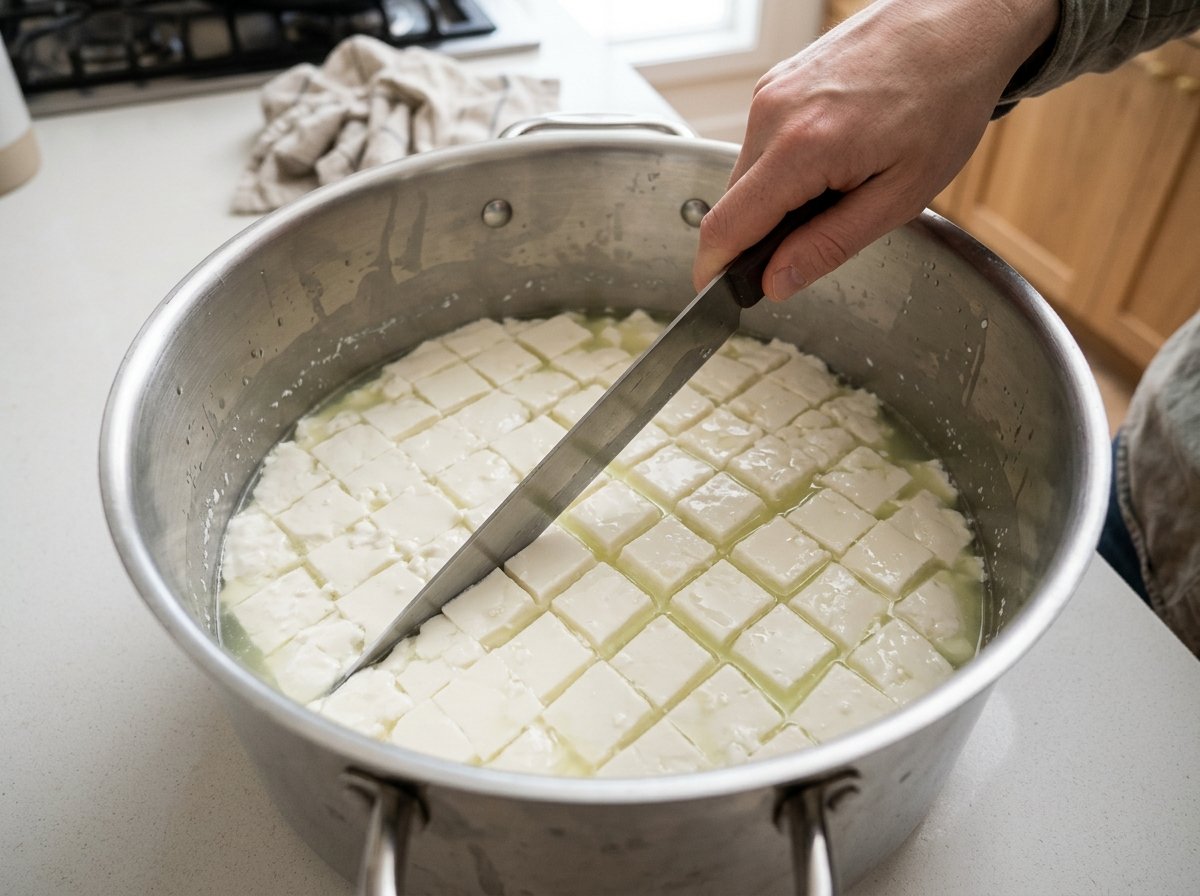
Cut the curd into roughly ½-inch cubes, reaching through the full depth with vertical and angled cuts. Leave for 5 minutes so the cut surfaces firm. Keep the pieces as even as practical.
5. Cook the curds slowly
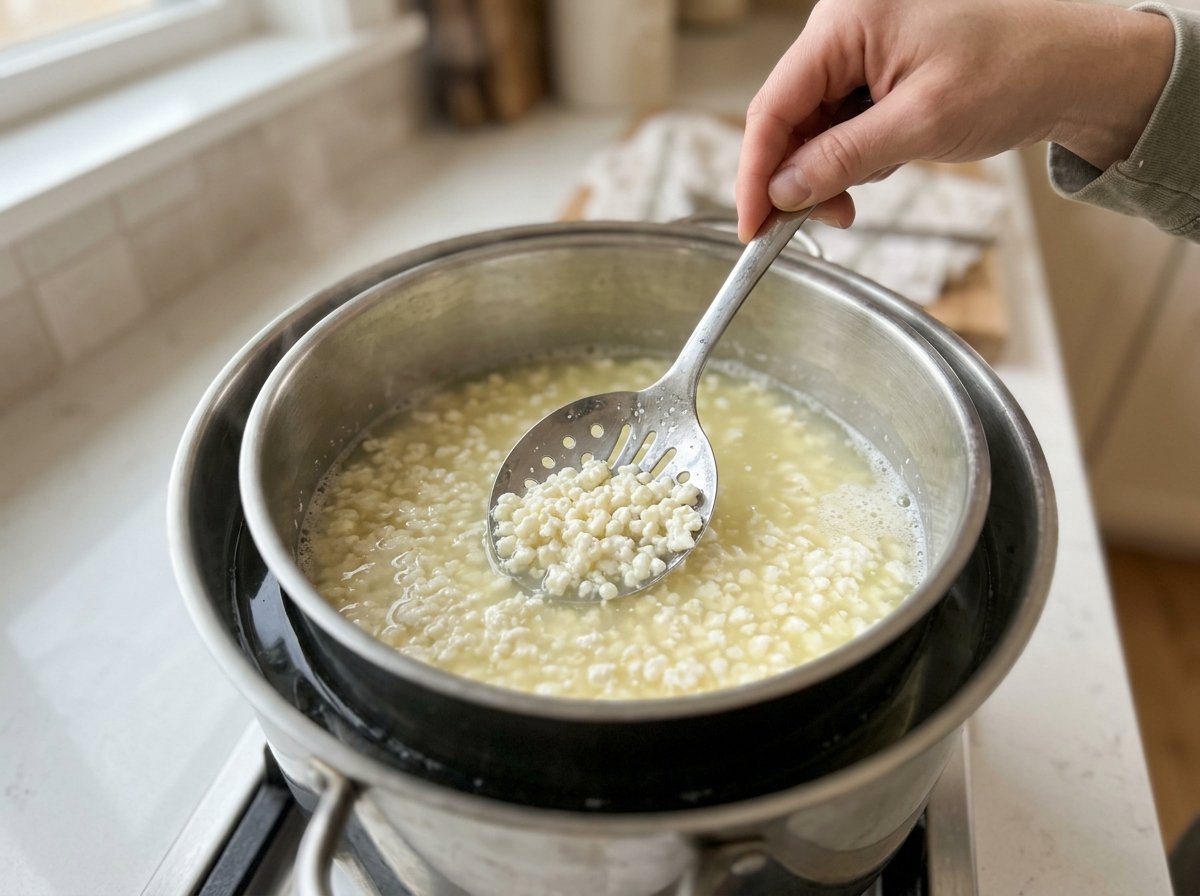
While stirring gently, raise the temperature from 90°F to 102°F (39°C) over about 30 minutes. Hold at 102°F and stir for another 30 minutes. The pieces should shrink and become firmer; avoid crushing them.
6. Drain and let the curds mat
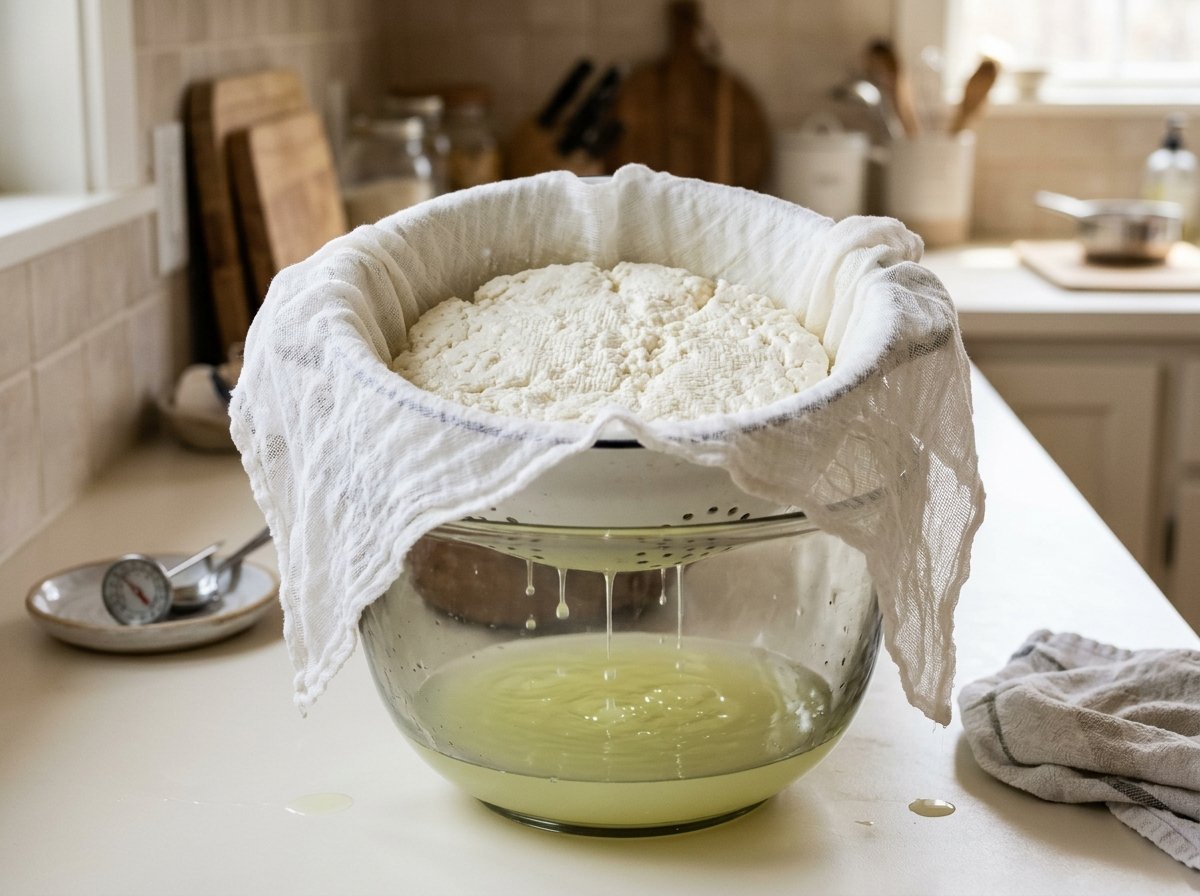
Let curds settle, then ladle them into a cloth-lined colander. Drain the whey and keep the curds warm, about 90°F. Let them knit into a slab rather than squeezing them dry.
7. Cheddar the warm slabs
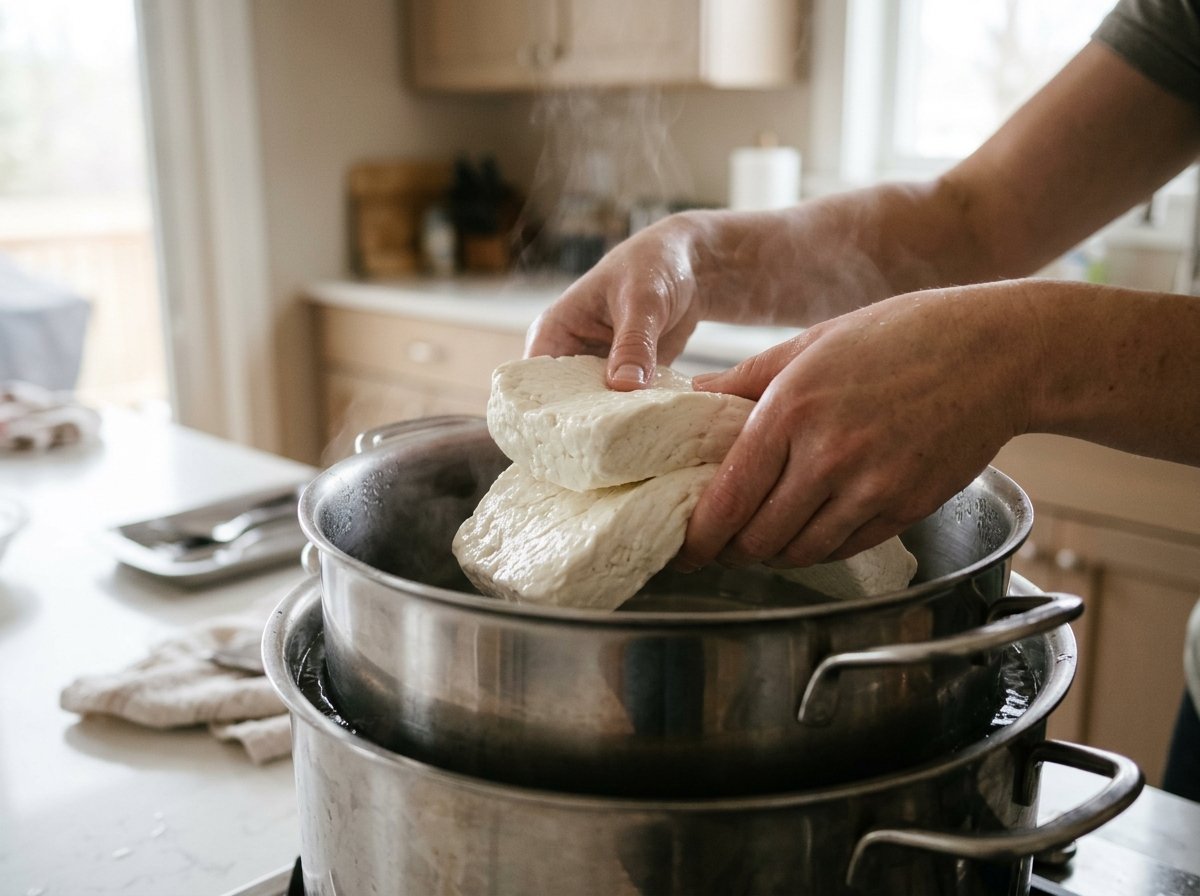
Cut the slab into two pieces. Turn and stack them, swapping their positions every 15–20 minutes while keeping them near 90°F. Continue roughly 1½–2 hours, until elastic and around pH 5.4. Acid development matters more than the clock.
8. Mill and salt
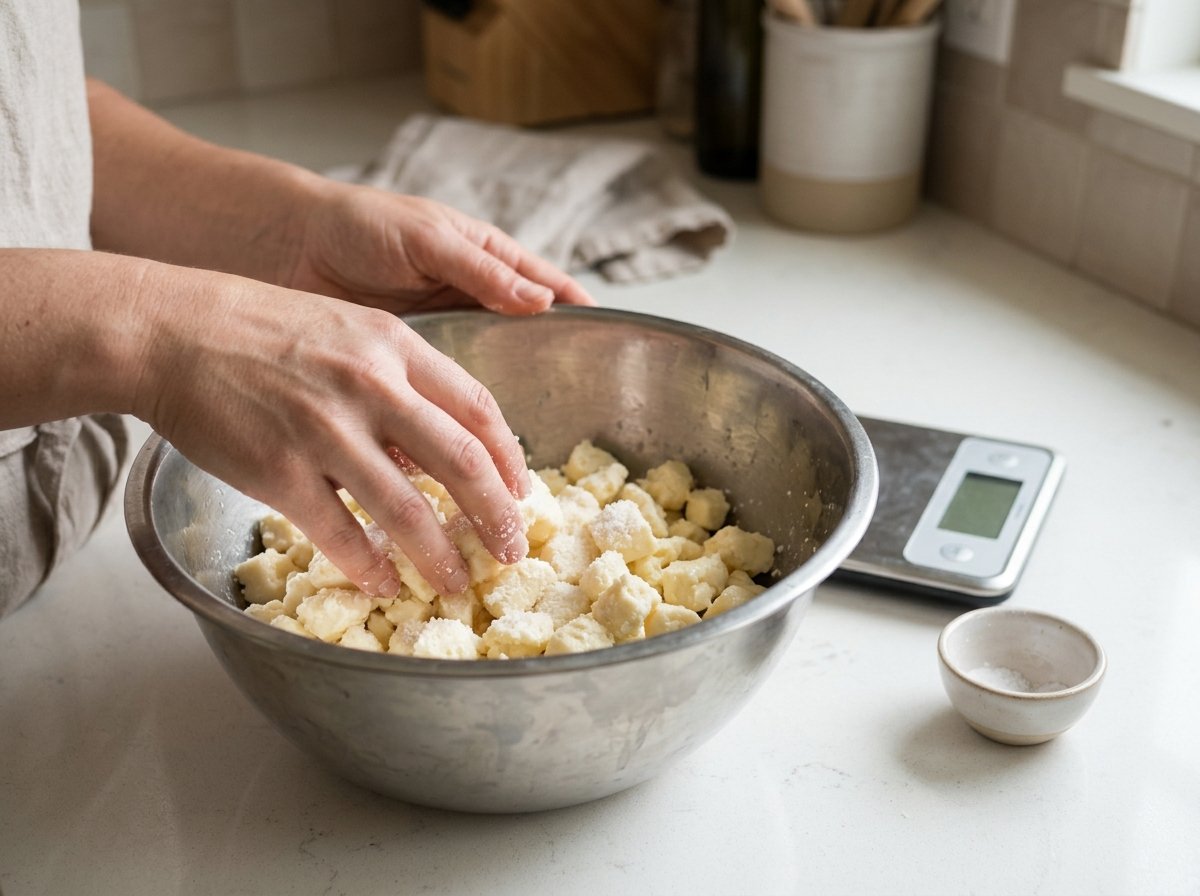
Cut the slabs into thumb-sized pieces. Weigh them and calculate salt at 2%: 20 grams per 1,000 grams of curd. Mix in three additions over 15–20 minutes, allowing whey to release between additions.
9. Fill the mold and press
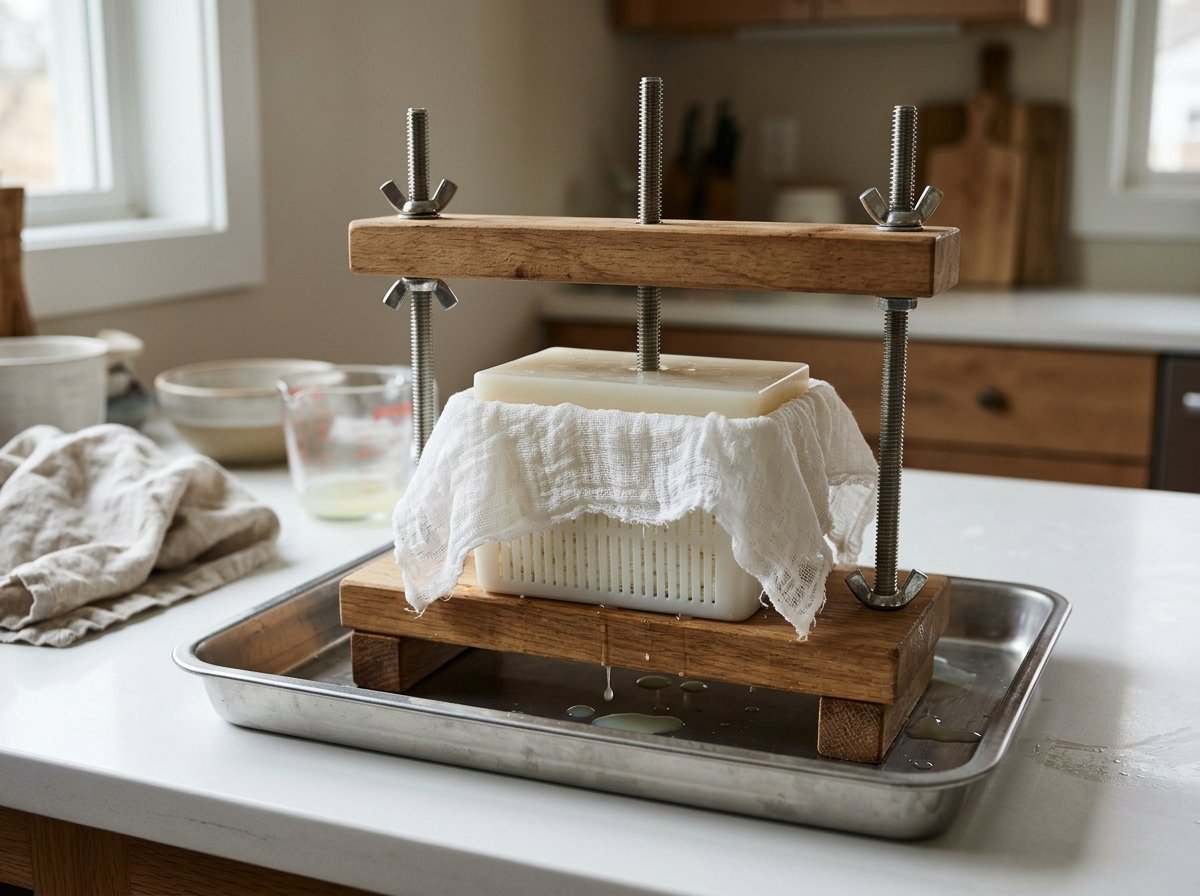
Pack warm curds into the cloth-lined 2-pound mold. Press at 10 pounds for 15 minutes; unwrap, flip, and redress. Press at 40 pounds for 12 hours, then flip and redress again and press at 50 pounds for 24 hours. Follow your mold’s safe load rating. Whey should seep out gradually, and the surface should knit closed.
10. Dry the surface
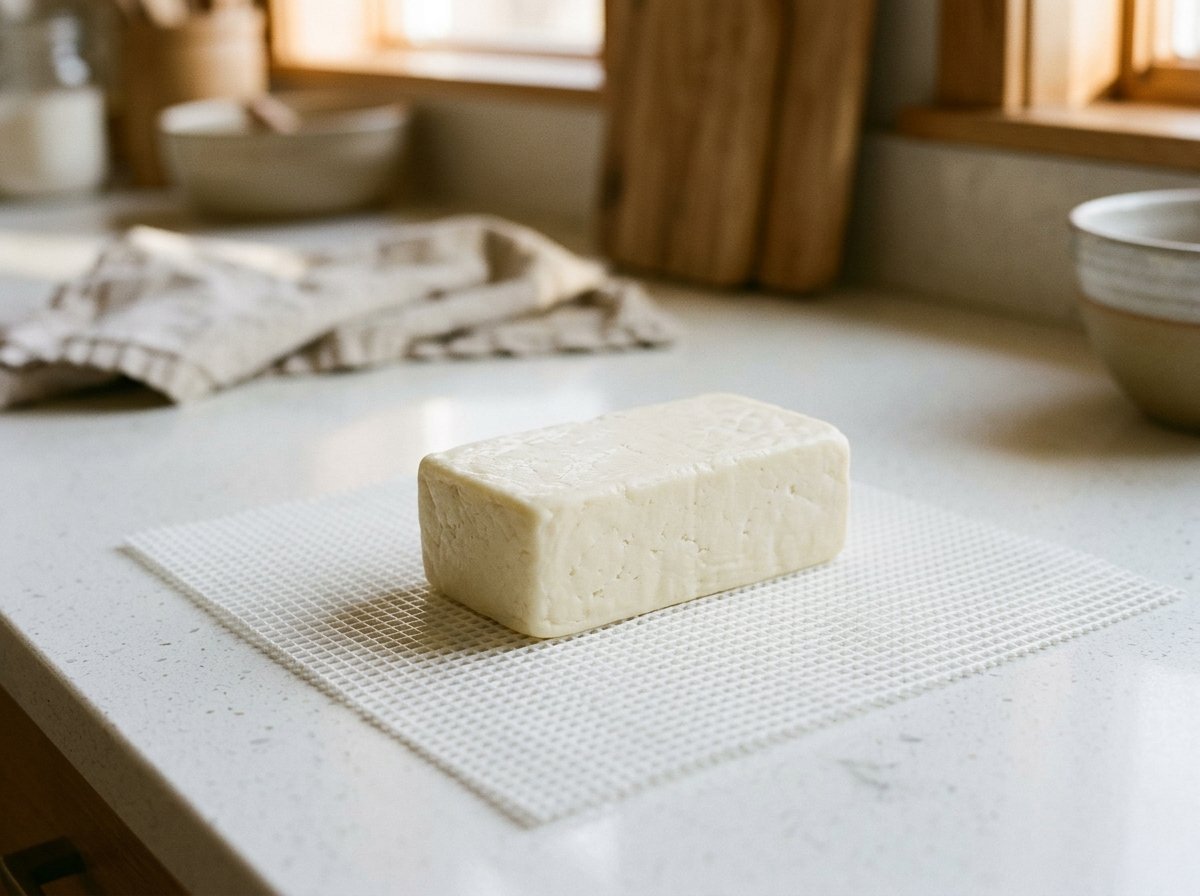
Unmold and remove the cloth. Place on a sanitized cheese mat in a clean, cool, protected drying area, turning several times daily, until dry to the touch, usually 2–3 days. Avoid hot rooms and direct sun. Do not seal a wet or sweating surface.
11. Seal for aging
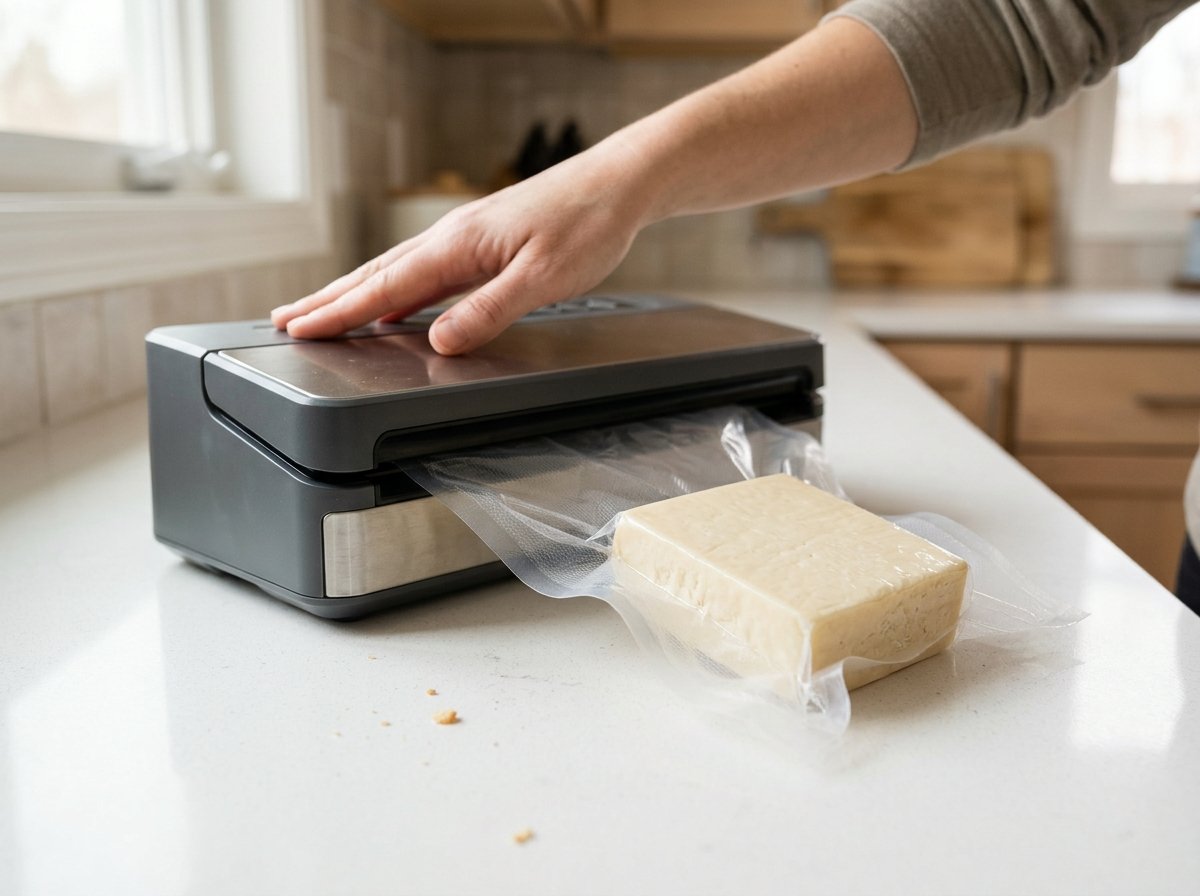
Vacuum-seal the dry cheese in a food-safe cheese-aging bag. Inspect the seal for leaks and label the package with its make date. Do not use a loosely closed sandwich bag in place of a vacuum seal.
12. Age, then slice
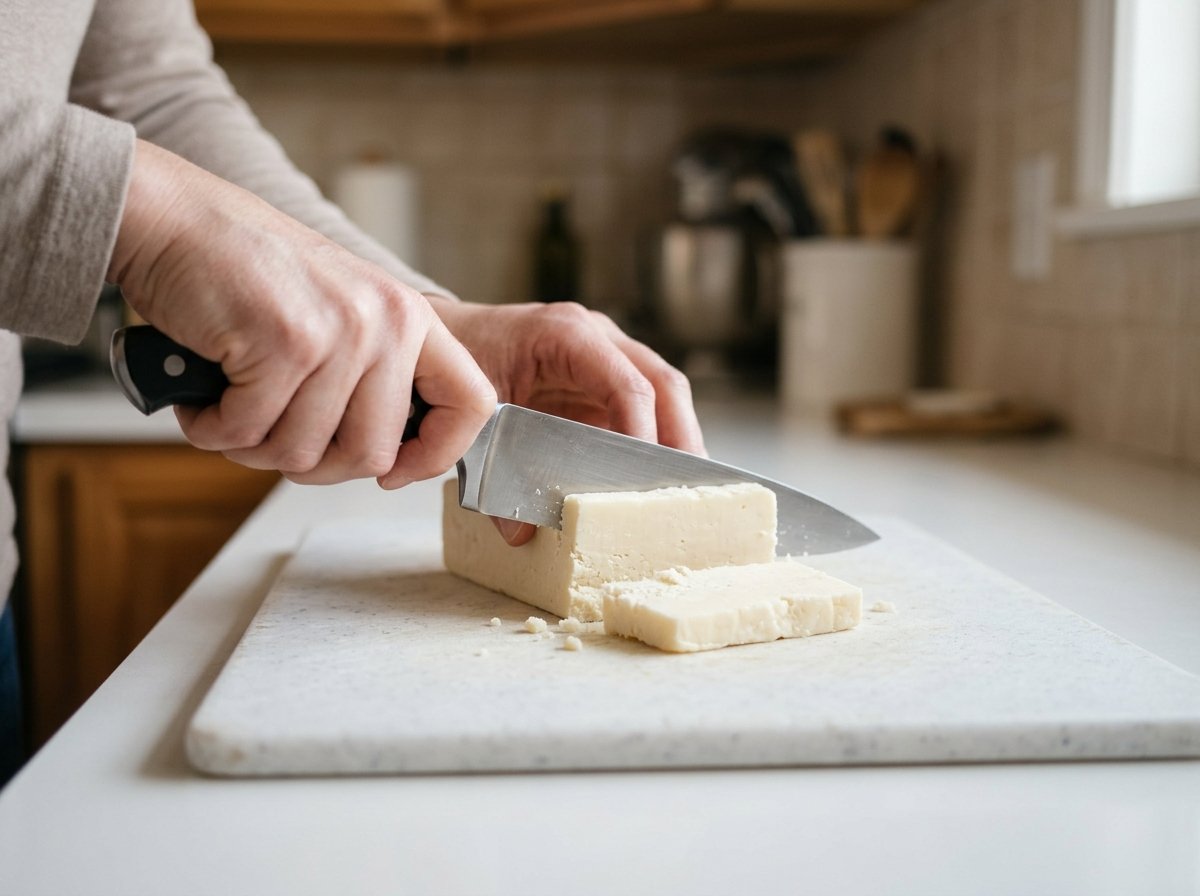
Age the sealed cheese at 45–50°F (7–10°C) for about 3 months for mild flavor, turning weekly. Inspect regularly. Once matured, open, slice, and refrigerate at 40°F (4°C) or below. Discard a batch with unexpected swelling, slime, putrid odor, or colored growth; do not taste it to check safety.
What Makes It Cheddar?
Starter culture acidifies the milk, rennet sets the curd, and the warm slabs are turned and stacked during cheddaring. Pressing joins the salted curds into a solid cheese. Aging changes its flavor and texture. Vinegar can make a fresh acid-set cheese, but it does not replace these stages or produce aged cheddar.
Notes for a Successful Batch
- Check ingredient strength. Culture, rennet, and calcium chloride vary by brand. A stronger product is not interchangeable spoon-for-spoon.
- Keep a batch record. Write down temperatures, times, milk brand, and pH readings. It is much easier to diagnose a dry or crumbly cheese with those notes.
- Press steadily. Keep the press stable and centered. More weight cannot repair a curd that was cooked too dry.
- Plan the aging space first. Use a dedicated controlled space; an ordinary refrigerator is colder and slows maturation considerably. Do not age cheese on a kitchen counter.
Frequently Asked Questions
Why is this cheddar white?
Cheddar does not need to be orange. Leaving out annatto gives a white or ivory cheese, with the final shade depending on the milk.
Can I eat it before aging?
Fresh salted curds have a mild, milky flavor. They will not have the developed flavor or slicing texture of aged cheddar. Chill any curds you keep for fresh eating promptly.
Can I skip the culture or rennet?
Not for this recipe. Both ingredients have specific jobs. Use a separate tested fresh-cheese recipe if you want a quick milk-and-acid cheese.
Why are there small openings in the block?
A few mechanical openings can occur when curds do not knit completely. Large cracks, wet pockets, gas swelling, or an abnormal smell are reasons to stop and assess the batch rather than continue aging it.
Serving and Storage
Serve slices with bread and apples, grate over cooked vegetables, or use in sandwiches. After opening, wrap and refrigerate at 40°F or below; handle with clean utensils and use promptly. Homemade batches vary in moisture, so this guide does not promise a fixed shelf life after opening.
Cheesemaking References
For further technique guidance, see Get Culture’s curd and acid-development instructions, New England Cheesemaking’s cheddaring and salting guide, Cultures for Health’s pressing sequence, and The CheeseMaker’s sealing and aging guidance. Follow the directions supplied with your specific culture and equipment.