
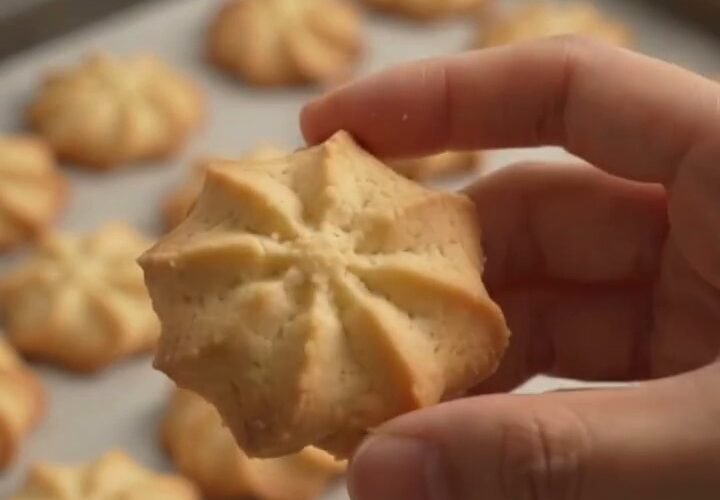
Easy homemade Danish butter cookies have crisp golden edges, a delicate center, and a buttery vanilla flavor. Piping the dough into little stars gives them the ridged shape in the photo. The key is soft butter that still holds its shape, a large piping tip, and a short chill before baking.
Recipe Details
Yield: About 30 small cookies | Prep: 20 minutes | Chill: 20–30 minutes | Bake: 12–16 minutes per tray | Total: About 1 hour, plus cooling
Ingredients
- 1 cup (227 g) unsalted butter, softened but not melted
- ¾ cup (90 g) powdered sugar, sifted
- 1 large egg yolk, at room temperature
- 2 teaspoons vanilla extract
- 2 cups (240 g) all-purpose flour, spooned and leveled
- ¼ teaspoon fine salt
- 1–2 teaspoons milk, only if needed for piping
- 1 tablespoon granulated sugar for sprinkling, optional
Equipment
Use baking sheets lined with parchment, an electric mixer, a sturdy piping bag, and a large open-star tip about ½ inch wide. A scale is helpful: too much flour makes this dough hard to pipe.
How to Make Easy Homemade Danish Butter Cookies
1. Prepare the trays and ingredients
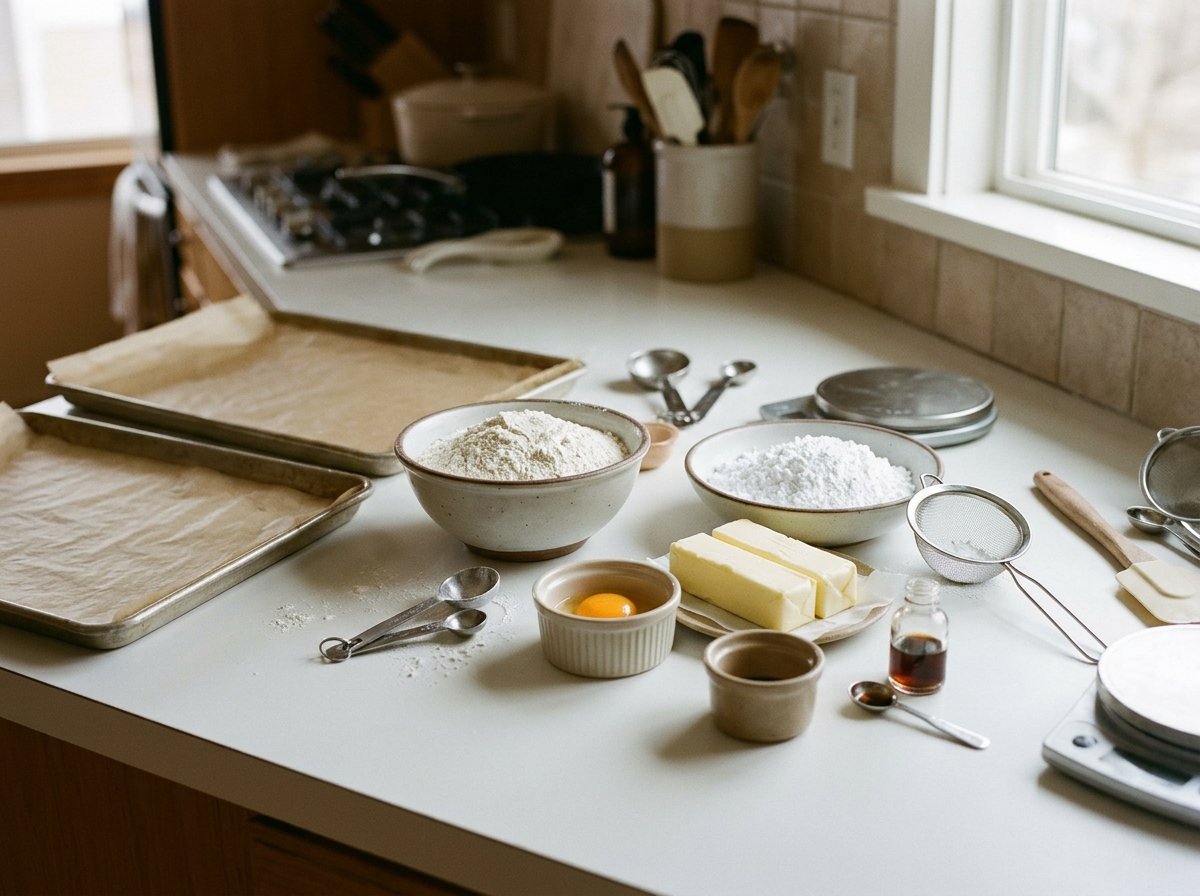
Line two baking sheets with parchment. Sift the powdered sugar and measure the flour accurately. The butter should take a gentle finger indentation while staying cool and holding its shape.
2. Cream butter and sugar
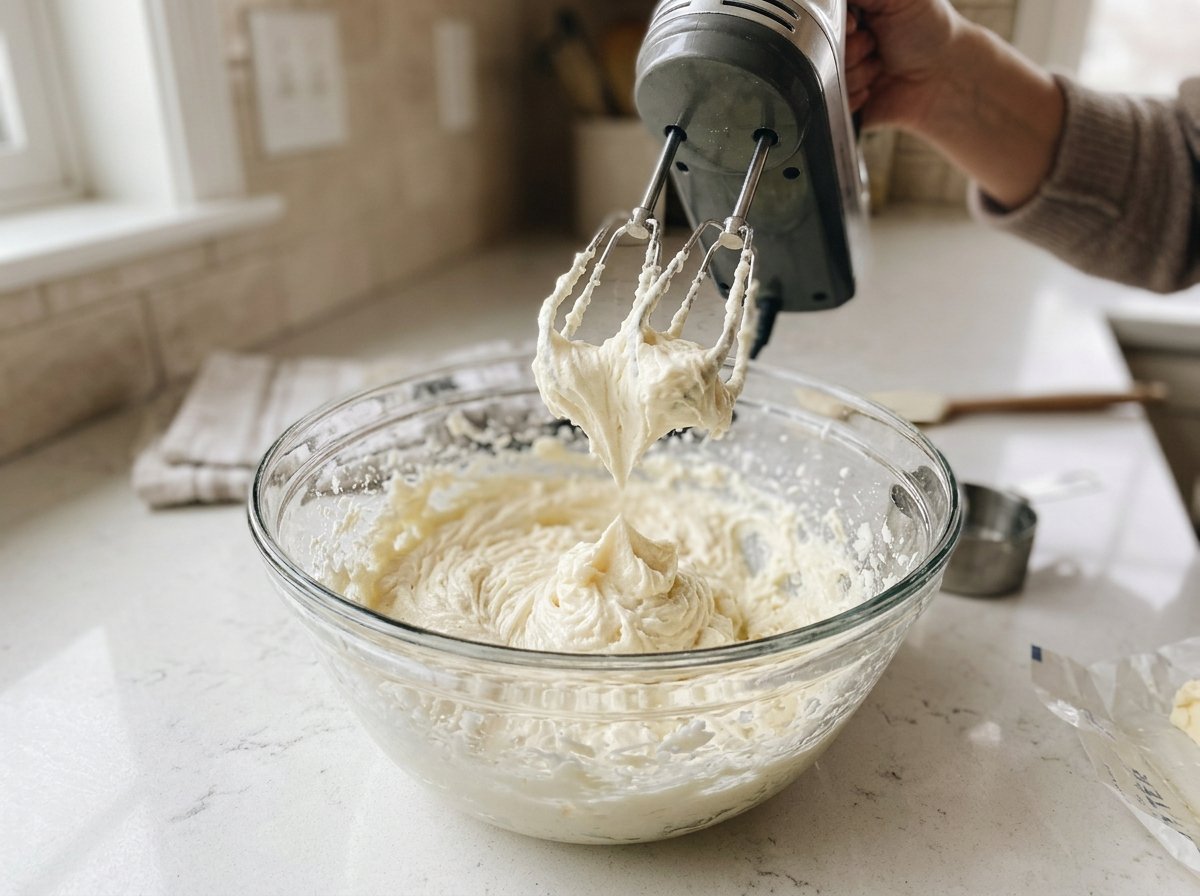
Beat the butter and powdered sugar on medium speed for 2–3 minutes, until smooth and creamy. Scrape the bowl. Avoid whipping for a long time; excess air can make the cookies spread.
3. Mix in yolk and vanilla
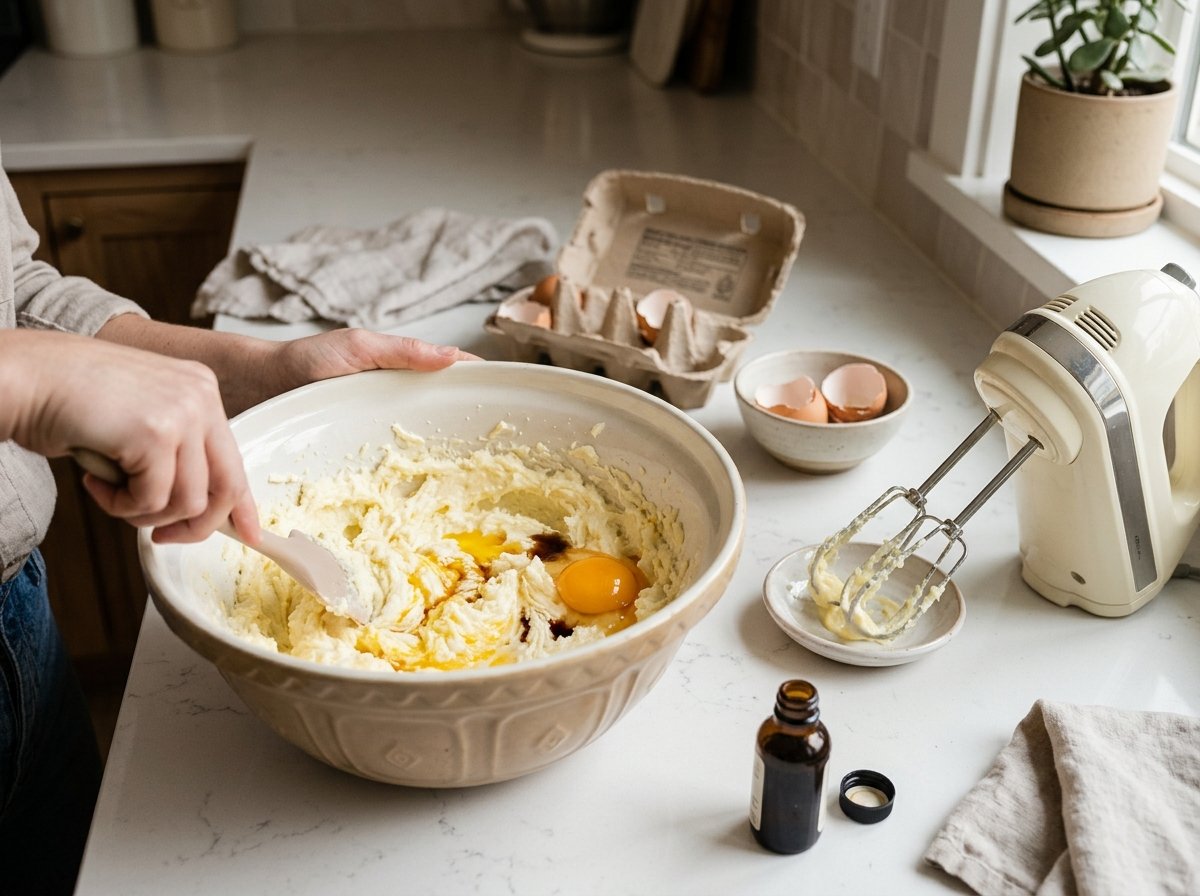
Add the egg yolk and vanilla. Beat briefly until evenly combined, then scrape the bottom and sides of the bowl.
4. Add flour and check the dough
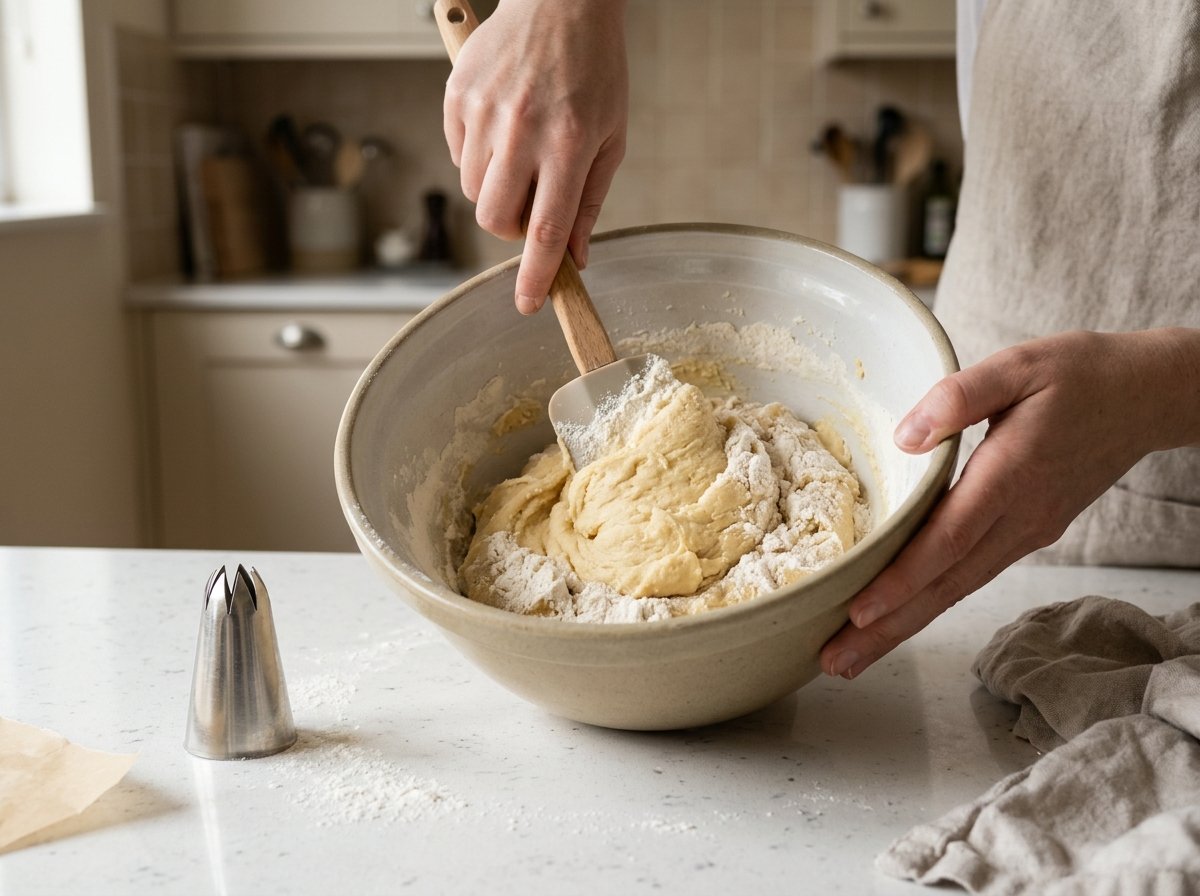
Add flour and salt. Mix on low just until a soft dough comes together. Test a small amount through the piping tip. If it is too stiff, mix in milk ½ teaspoon at a time, using no more than 2 teaspoons. The dough should pipe with steady pressure and hold clear ridges.
5. Pipe the cookies
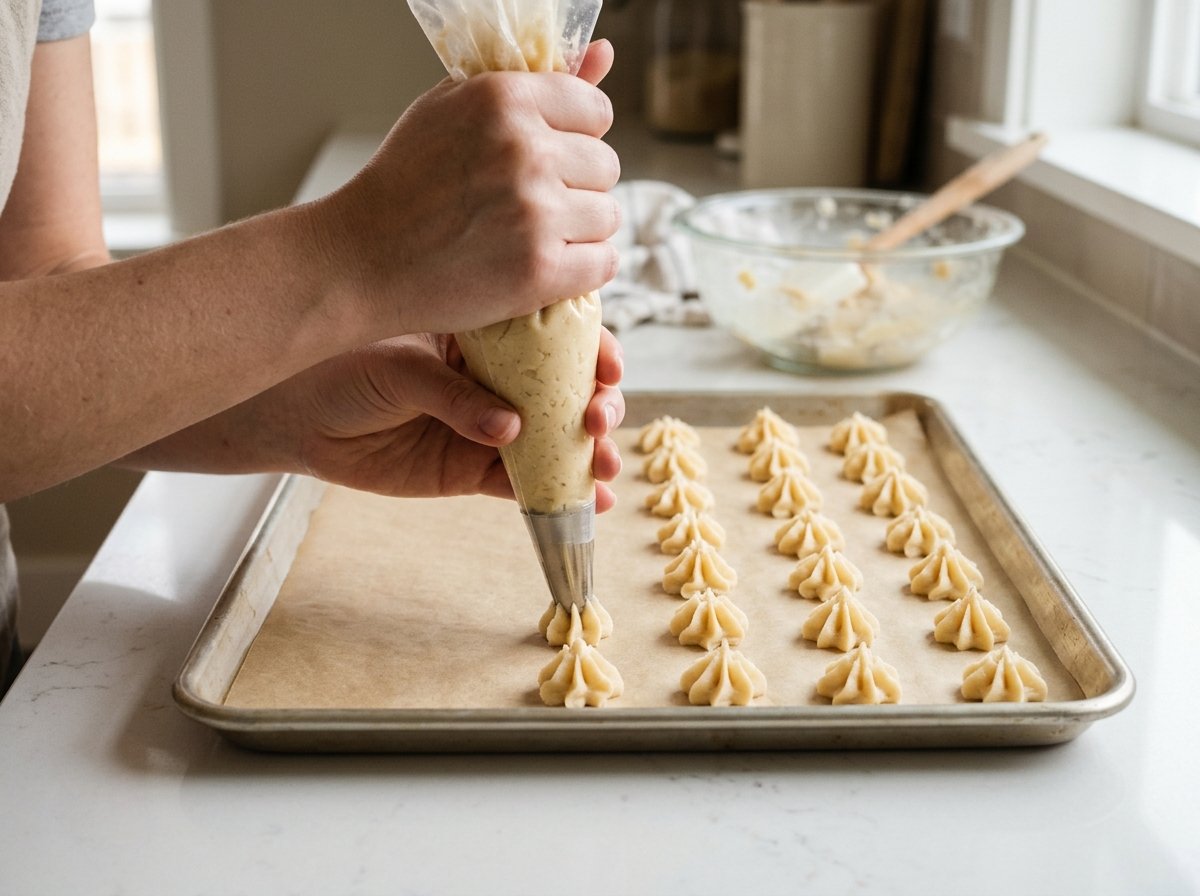
Fit a sturdy bag with the large star tip and fill it halfway. Hold the tip upright over the tray. Pipe 1½-inch stars or rosettes, leaving about 2 inches between them. Stop pressure before lifting the bag. Add optional granulated sugar lightly.
6. Chill and bake
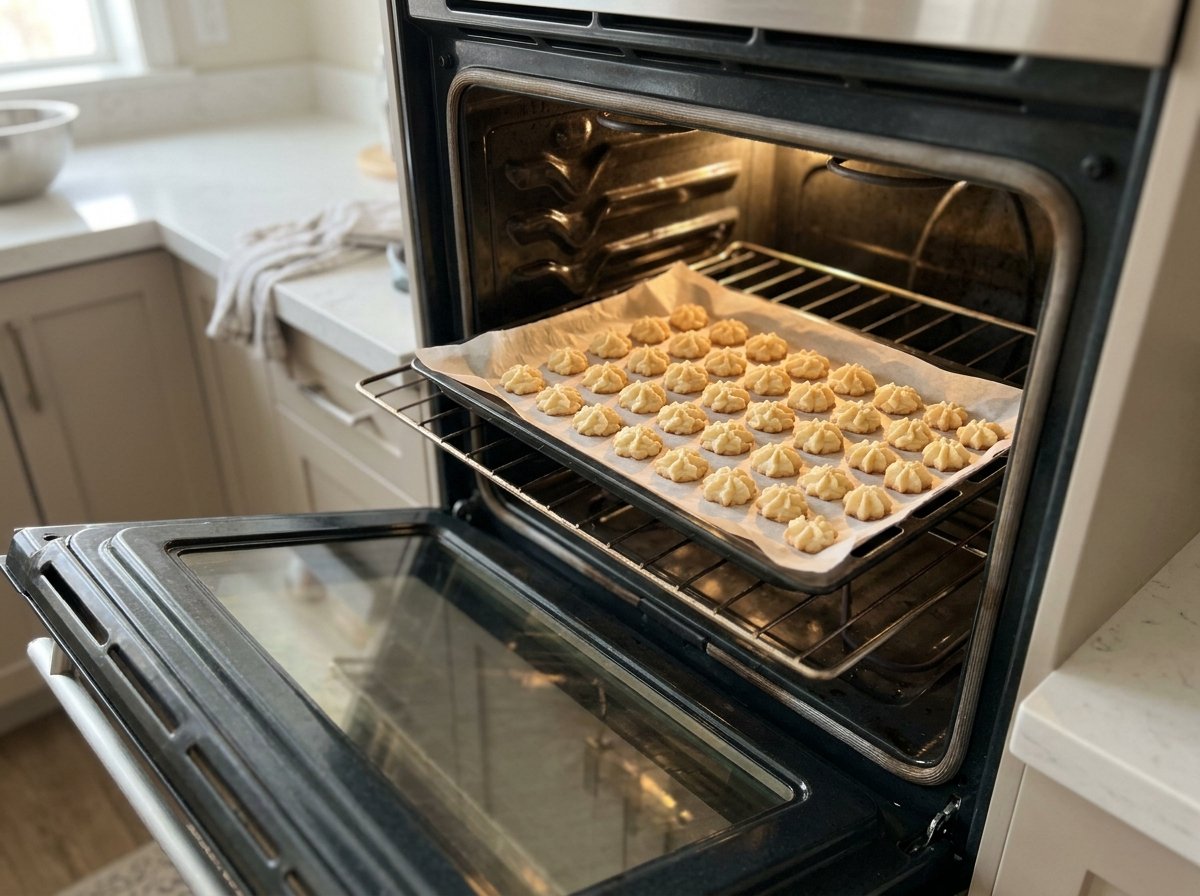
Refrigerate the piped tray for 20–30 minutes. Meanwhile, heat the oven to 350°F (175°C). Bake one tray at a time on the middle rack for 12–16 minutes, until the edges and raised ridges are lightly golden. Start checking at 12 minutes; larger cookies take longer.
7. Cool completely
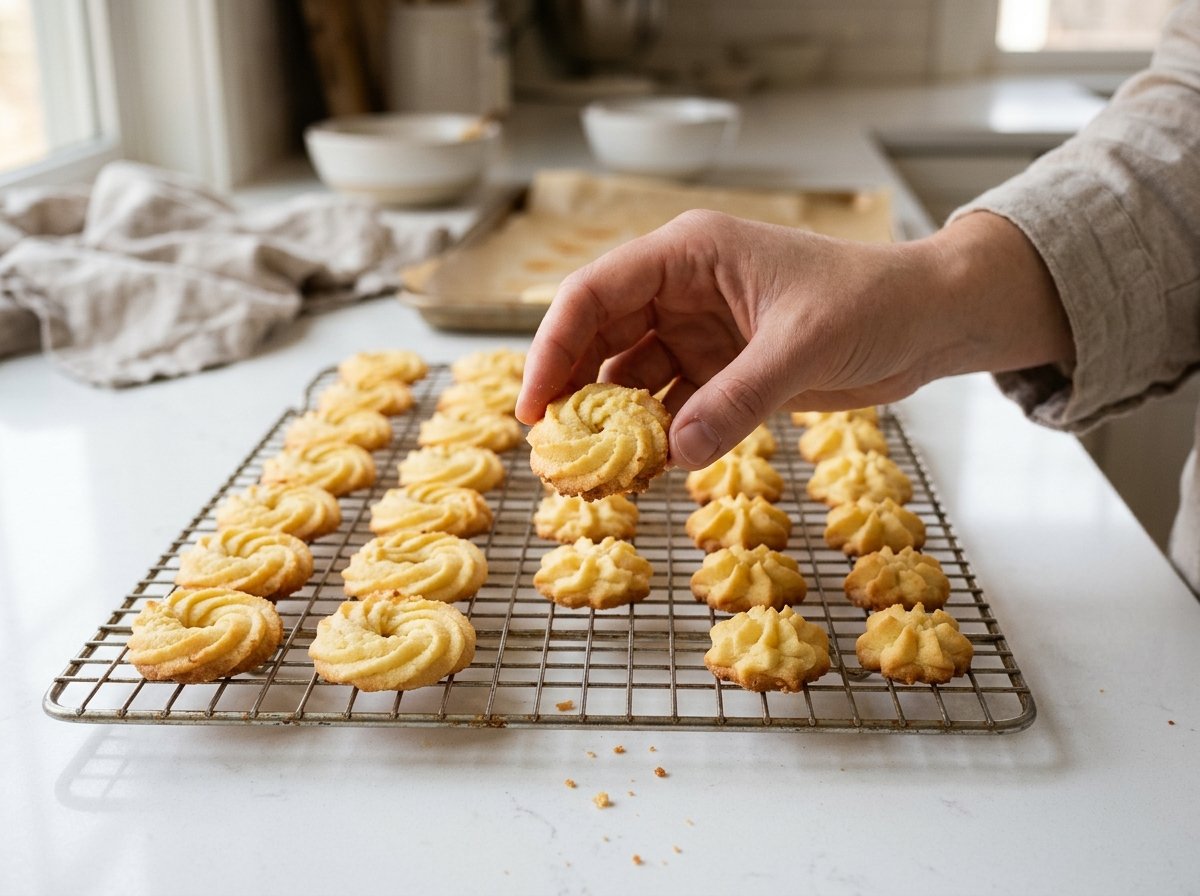
Leave cookies on the tray for 5 minutes, then transfer carefully to a wire rack. Let cool completely; they become crisper as they cool. Store only after they are fully cool so trapped steam does not soften them.
Tips for Defined Ridges
- Keep the butter soft, not oily. Melted or very warm butter weakens the piped shape. If the dough is slumping, chill briefly before continuing.
- Use a large tip. A small icing nozzle is difficult to push cookie dough through. Fill the bag only halfway for better control.
- Add milk sparingly. The dough should be pipeable, not runny. Too much liquid changes the texture and increases spreading.
- Chill after piping. This firms the butter while preserving the shape you have made.
Serving and Variations
Serve with tea, coffee, or a glass of milk. For a citrus version, add 1 teaspoon finely grated lemon or orange zest with the vanilla. Dip fully cooled cookies halfway in melted chocolate and let set if you want a decorated batch.
Storage and Freezing
Keep completely cooled cookies in an airtight tin or container at room temperature for up to 1 week. Separate layers with parchment. Freeze baked cookies for up to 2 months and thaw in their closed container.
You can freeze piped unbaked cookies on their tray, then pack them into a freezer container. Bake from frozen, allowing a few extra minutes and watching the color rather than relying only on the timer.
Frequently Asked Questions
Why is the dough too stiff to pipe?
Butter that is too cold, a small tip, or extra flour can cause it. Let the dough soften slightly and check your tip before adding milk in tiny amounts.
Why did the cookies lose their shape?
The butter may have been too warm, the dough too wet, or the tray not chilled. Use a cool baking sheet for each batch and refrigerate the piped shapes before baking.
Can I make them without a piping bag?
Yes. Roll small portions into balls, flatten lightly with a fork, and chill before baking. The flavor stays similar, although the shape will differ from the photo.
Can I use salted butter?
Yes. Omit the added salt and expect a slightly different salt level depending on the butter brand.