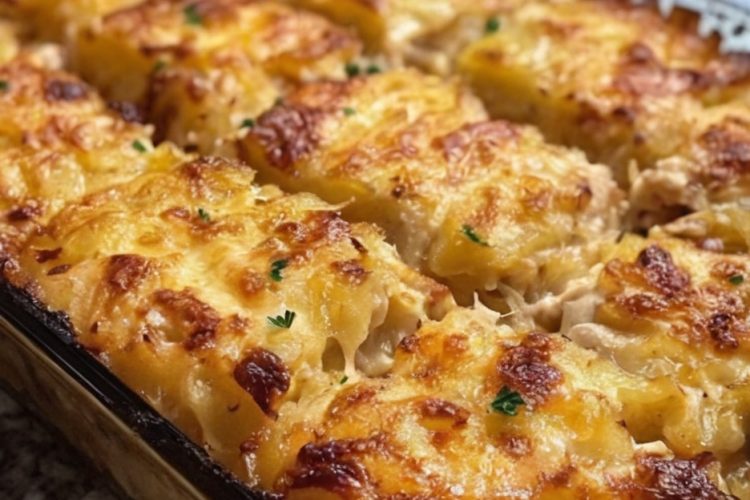

Cheesy Cheeseburger Pockets (The Ultimate Handheld Family Dinner)
I whipped up a batch of these Cheesy Cheeseburger Pockets this afternoon, and they are a delicious reminder that you don’t need a drive-thru to get that classic burger fix. Think of these as a gourmet, homemade version of a “hot pocket”—but packed with real seasoned beef, gooey melted cheese, and a buttery, flaky crust. They are perfectly portable, making them a rare and beautiful victory for busy school nights or weekend game days.
The beauty of this recipe is how much kids (and adults!) love them. By tucking the cheeseburger filling inside a golden crescent or biscuit dough, you eliminate the mess of a traditional burger while keeping all the flavor. It’s a simple “brown, fill, and bake” process that takes less than 30 minutes from start to finish.
Whether you’re looking for a fun new lunchbox idea or a quick dinner that will have everyone running to the table, these pockets are the effortless crowd-pleaser you’ve been waiting for.
Simple Cheesy Cheeseburger Pockets
Ingredients
-
1 lb lean ground beef
-
1 small onion, finely diced
-
1 tsp garlic powder
-
Salt and pepper to taste
-
1 tbsp Worcestershire sauce
-
2 cups shredded sharp cheddar cheese
-
2 cans (8 oz each) refrigerated crescent rolls or biscuit dough
-
1 egg, beaten (for egg wash)
-
Optional: Sesame seeds for topping and ketchup/mustard for dipping
Instructions
1) Preheat and Prep Preheat your oven to 375°F (190°C). Line a large baking sheet with parchment paper so your pockets don’t stick.
2) Cook the Filling In a large skillet over medium-high heat, brown the ground beef with the diced onions. Cook until the beef is no longer pink, then drain the excess grease thoroughly. Stir in the garlic powder, salt, pepper, and Worcestershire sauce. Remove from heat and let it cool slightly.
3) Prepare the Dough Unroll the crescent dough. If using triangles, pinch two together to form a rectangle. If using biscuit dough, flatten each biscuit into a 5-inch circle.
4) Fill and Seal Place a generous spoonful of the beef mixture in the center of each dough piece. Top with a heavy sprinkle of shredded cheese. Fold the dough over the filling and use a fork to crimp the edges tightly, sealing the pocket shut.
5) The Finishing Touch Place the pockets on the baking sheet. Brush the tops with the beaten egg wash and sprinkle with sesame seeds if you want that “burger bun” look.
-
Bake for 12–15 minutes, or until the crust is a deep golden brown and the cheese is molten.
6) Serve Let them cool for 5 minutes (the centers will be hot!). Serve with a side of pickles, ketchup, and mustard for the full cheeseburger experience.

Why Cheeseburger Pockets Are the Best
-
Mess-Free Eating: All the toppings are sealed inside, making them perfect for eating on the go.
-
Kid-Approved: It has the familiar taste of a cheeseburger in a fun, “pizza-roll” style shape.
-
Versatile: You can easily customize each pocket with different cheeses or add-ins.
-
Fast and Fresh: Ready in under 30 minutes using simple refrigerated dough shortcuts.
Tips for Success
-
Drain Well: Make sure the beef is very well-drained. If the filling is too greasy, the dough will become soggy and won’t seal properly.
-
Don’t Overfill: It’s tempting to pile on the meat, but leaving a half-inch border around the edges ensures a tight seal that won’t burst in the oven.
-
Let it Cool: Letting the meat cool for a few minutes before putting it on the dough prevents the dough from getting too soft and tearing.
-
Crimp Twice: Go around the edges with a fork twice to make sure that cheese stays inside where it belongs!
Easy Variations
-
Bacon Cheeseburger: Stir in ½ cup of cooked, crumbled bacon to the beef mixture.
-
Pickle Pockets: Add a few finely chopped dill pickles inside the pocket before sealing.
-
Mushroom Swiss: Swap the cheddar for Swiss cheese and add sautéed mushrooms to the beef.
-
BBQ Burger: Add 2 tablespoons of BBQ sauce to the meat mixture for a smoky twist.
FAQ – Cheesy Cheeseburger Pockets
Can I make these ahead of time?
Yes! You can assemble them and keep them in the fridge for a few hours before baking. You can also freeze them (unbaked or baked) for up to 3 months.
What is the best dough to use?
Crescent roll dough gives a light, flaky crust, while refrigerated biscuit dough makes for a sturdier, “hand-pie” style pocket. Both are delicious!
Can I use ground turkey?
Absolutely. Ground turkey or chicken works perfectly—just make sure to season it well since it’s leaner than beef.
How do I reheat leftovers?
The air fryer is the best way to reheat these! 3-4 minutes at 350°F will make the crust crispy again. The microwave works too, but the crust will be softer.