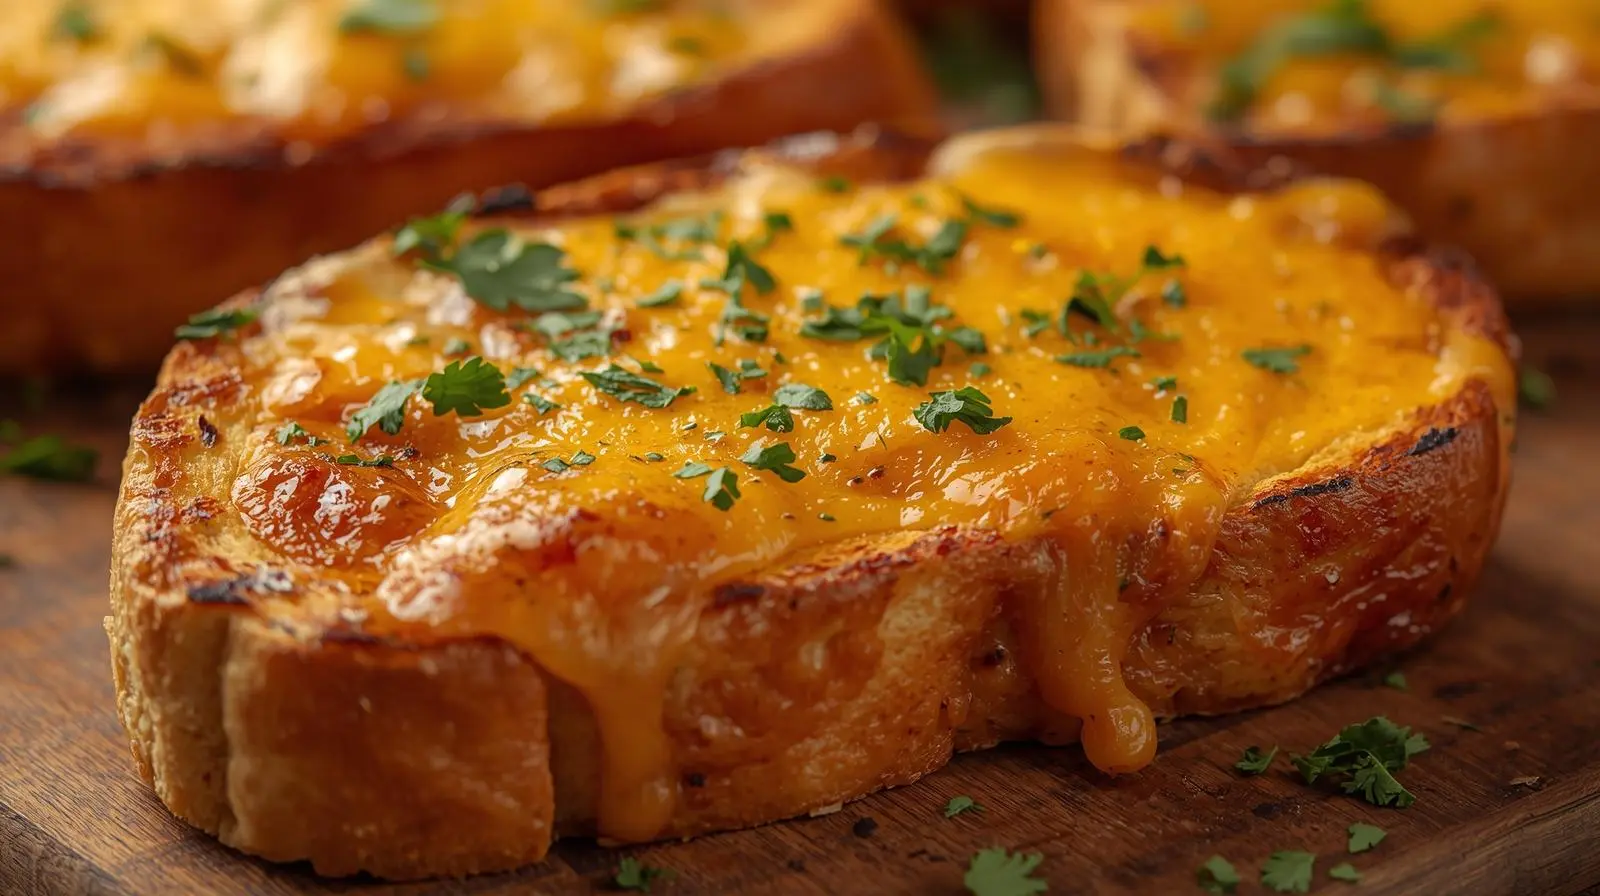
Cheesy Texas Toast
Indulge in the rich flavors of delicious Cheesy Texas Toast. It’s a mouth-watering side dish that will quickly become a favorite. This tasty treat is known for its garlicky taste, crispy outside, and buttery inside.
Cheesy Texas Toast is a simple yet satisfying side dish. In this article, we’ll dive into what makes it special. We’ll also show you how to make it at home.
Key Takeaways
- Learn the key characteristics of Cheesy Texas Toast
- Discover how to make this delicious side dish at home
- Explore the best ways to serve Cheesy Texas Toast
- Understand the importance of using high-quality ingredients
- Get tips for customizing the recipe to your taste
What Makes Texas Toast Special
Texas Toast is loved for its rich history and unique taste. It’s more than a side dish; it’s a special experience. It combines toasted bread with butter, garlic, and cheese.
The Origin Story of Texas Toast
In the 1940s, Texas Toast started in Denton, Texas. A restaurant owner wanted to make garlic bread for show people visiting. The staff made toasted bread with butter and garlic, and it quickly became a favorite.
How Texas Toast Differs from Regular Garlic Bread
Regular garlic bread is tasty, but Texas Toast is even better. It has a flavorful and savory twist. The bread is thicker, so it can hold more butter and cheese.
The bread gets crispy on the outside and stays soft inside. The melted cheese adds a richness that makes it stand out from regular garlic bread.
Essential Ingredients for Perfect Cheesy Texas Toast
To make delicious Cheesy Texas Toast, you need a few key ingredients. The right mix of flavors and textures is crucial. Let’s look at the must-haves for this tasty dish.
Selecting the Right Bread
Choosing the right bread is the first step. The bread should be firm to hold the toppings well.
Thickness and Texture Considerations
The bread should be about 1 inch thick for even toasting. It should have a soft inside and a crispy outside for the best texture.
Butter and Garlic: The Foundation of Flavor
Butter and garlic are key for Texas Toast’s fragrant and savory taste. Use high-quality butter and fresh garlic for the best flavor.
Fresh vs. Jarred Garlic Options
Fresh garlic is better than jarred for a roasted flavor. Mix minced fresh garlic with softened butter for the best taste.
| Ingredient | Recommended Option | Benefits |
|---|---|---|
| Bread | Texas Toast or Challah | Soft interior, crusty exterior |
| Garlic | Fresh cloves | Fragrant, roasted flavor |
| Butter | High-quality, salted | Rich, savory taste |
| Cheese | Mozzarella, Cheddar, or blend | Melts well, variety of flavors |
Choosing the Best Cheese Varieties
The cheese you choose greatly affects the taste and texture of Cheesy Texas Toast. A mix of Mozzarella and Cheddar is a good choice for a balance of meltiness and flavor.
By focusing on these essential ingredients, you can make a delicious Cheesy Texas Toast that everyone will love.
Kitchen Tools You’ll Need
The right kitchen tools are key to making crispy and buttery Cheesy Texas Toast. The right equipment ensures your toast is perfectly cooked and full of flavor.
Basic Equipment Requirements
You’ll need a few basic tools to begin. A baking sheet, a mixing bowl, a measuring cup, and a cheese grater are must-haves. A baking sheet is crucial for achieving that perfect crisp.
A mixing bowl is needed for mixing the garlic butter spread. And, a measuring cup helps you measure ingredients accurately.
Optional Tools for Enhanced Results
For even better results, consider using a garlic press and a pastry brush. A garlic press makes crushing garlic cloves easy. A pastry brush helps spread the garlic butter evenly.
Also, a broiler pan can give your toast an extra crispy finish. These tools can make your preparation smoother and your toast more delicious.
| Tool | Purpose |
|---|---|
| Baking Sheet | Baking Texas Toast to a perfect crisp |
| Mixing Bowl | Combining garlic butter spread ingredients |
| Cheese Grater | Grate cheese for the topping |
| Garlic Press | Crushing garlic cloves efficiently |
| Pastry Brush | Evenly applying garlic butter spread |
Step-by-Step Guide to Garlicky, Crispy, Buttery Texas Toast
To make the best garlicky, crispy, and buttery Texas Toast, follow this easy guide. It breaks down the steps into simple parts. Making this tasty side dish is easy and just needs a few important details.
Preparing the Garlic Butter Spread
The garlic butter spread is the heart of Texas Toast. You’ll need softened butter, minced garlic, and a pinch of salt. Choose fresh, plump garlic cloves for the best flavor.
Mixing Techniques for Maximum Flavor
To mix the garlic butter spread right, use an electric mixer or a whisk. Mix the softened butter, minced garlic, and salt until it’s smooth and creamy. This makes sure the flavors are evenly spread.
Applying the Spread and Cheese
When your garlic butter spread is ready, it’s time to put it on the bread. Spread a generous amount on one side of each slice. Then, sprinkle your favorite cheese over the buttered side. Make sure to cover the whole surface for the best taste.
- Use a butter knife or pastry brush to spread the garlic butter evenly.
- Sprinkle cheese generously, ensuring the entire surface is covered.
Baking Techniques for Perfect Results
Preheat your oven to 350°F (175°C). Put the slices, buttered side up, on a baking sheet lined with parchment paper. Bake for 10-12 minutes until the bread is crispy and golden brown.
Tips for Baking:
- Keep an eye on the toast to avoid overcooking.
- Rotate the baking sheet halfway through the baking time for even browning.
Broiling for the Ultimate Finish
For an extra crispy finish, broil the Texas Toast for 1-2 minutes after baking. Watch closely to prevent burning. This step adds a delightful crunch to your Texas Toast.
- Switch your oven to broil mode.
- Place the Texas Toast under the broiler for 1-2 minutes.
- Monitor closely to achieve the perfect golden brown color.
Common Mistakes to Avoid
To make your Cheesy Texas Toast perfect, avoid common mistakes. These errors can ruin your snack. But knowing them helps you get a crispy, cheesy treat.
Temperature Pitfalls
Temperature control is key for perfect Cheesy Texas Toast. Baking too low makes it soggy. Too high and it burns before the cheese melts. The right temperature gives you a golden crust and melted cheese.
| Temperature | Result |
|---|---|
| Too Low | Soggy Texture |
| Too High | Burnt Bread |
| Optimal (around 375°F) | Golden-Brown Crust and Melted Cheese |
Ingredient Proportions
Using the wrong amounts of ingredients is another mistake. Too much garlic can be overwhelming. Too little butter makes it dry. The right cheese and garlic butter balance is essential.
High-quality cheese and just the right garlic butter enhance the flavor. This balance makes your toast delicious.
Timing Issues
Timing is crucial for Cheesy Texas Toast. Baking too short leaves it undercooked. Too long and it gets too crispy or burnt. Watch it closely to get the perfect texture.
During broiling, keep an eye on it. The cheese can burn quickly. This is when you need to adjust the timing.
Delicious Variations to Try
Try new flavors to make your Cheesy Texas Toast even better. Texas Toast is great for many toppings and ingredients.
Herb-Infused Texas Toast
Use fresh or dried herbs to make your Texas Toast special. Parsley, thyme, and rosemary are great choices. They add flavor to the cheese and butter.
Just sprinkle your herbs on the toast before baking. It’s a simple way to add more taste.
Spicy Kick Options
For a spicy touch, add red pepper flakes or diced jalapeños. You can also mix hot sauce into the garlic butter. This spreads the heat evenly.
Gourmet Cheese Combinations
Try mixing different cheeses for a richer taste. Sharp cheddar and creamy brie or parmesan and gouda are great choices. Experiment to find your favorite mix.
Sweet and Savory Fusion Ideas
Balance savory with sweet for a unique taste. Caramelized onions or honey can add a sweet touch. This mix of flavors is amazing.
Serving Suggestions and Pairings
Cheesy Texas Toast is great with many meals. Its buttery and crispy texture, along with a savory taste, makes it perfect for comfort foods.
Classic Pasta Pairings
It’s especially good with pasta dishes. Try it with spaghetti Bolognese, lasagna, or macaroni and cheese. The toast’s crispy outside and cheesy inside go well with rich pasta sauces.
Soup and Stew Companions
Texas Toast is also great with soups and stews. Dipping it in tomato soup or a hearty stew is amazing. The crunchy toast and soft soup are a perfect pair.
Texas Toast as an Appetizer Base
Use Cheesy Texas Toast as a base for appetizers. Try it with diced tomatoes, garlic, and basil for bruschetta, or sautéed spinach and artichoke dip. It’s a great base for many toppings.
Creating a Complete Meal with Texas Toast
Pair Texas Toast with grilled chicken or a salad for a full meal. It also goes well with roasted vegetables or a fresh green salad. This makes for a complete and satisfying meal.
In conclusion, Cheesy Texas Toast is versatile and delicious. It’s perfect with pasta, as an appetizer, or with a main course. It’s sure to please everyone.
Make-Ahead and Storage Tips
To make Cheesy Texas Toast easier, you can prep parts ahead. This is great for big meals or events.
Preparing Components in Advance
Make the garlic butter and grate cheese a day or two early. Keep them in airtight containers in the fridge. You can also slice the bread and keep it in a bag at room temperature for a day.
Freezing and Reheating Methods
You can freeze Cheesy Texas Toast before baking. Put it on a baking sheet and freeze until solid. Then, move it to a freezer-safe bag or container. To reheat, bake at 375°F (190°C) for 15-20 minutes, until crispy.
Maintaining Freshness and Texture
Keep Cheesy Texas Toast fresh by storing leftovers in an airtight container at room temperature for a day. For longer storage, refrigerate or freeze. Reheat refrigerated toast in the oven at 325°F (165°C) for 5-7 minutes. Avoid microwaving to prevent sogginess.
| Storage Method | Duration | Reheating Instructions |
|---|---|---|
| Room Temperature | Up to 1 day | Reheat at 325°F (165°C) for 5-7 minutes |
| Refrigerated | Up to 3 days | Reheat at 325°F (165°C) for 5-7 minutes |
| Frozen | Up to 2 months | Bake from frozen at 375°F (190°C) for 15-20 minutes |
Nutritional Information and Dietary Adaptations
Cheesy Texas Toast is loved for its taste, but its health value matters too. It’s a popular side dish. Knowing its nutritional content helps make better choices and adapt diets.
Calorie and Nutrient Breakdown
A serving of Cheesy Texas Toast has about 250-300 calories. Most of these calories come from the bread and cheese. It also has carbs, fats, and proteins. It’s key to watch portion sizes for a balanced diet.
Gluten-Free Alternatives
For those with gluten issues, gluten-free bread works well in Cheesy Texas Toast. You can use rice flour, almond flour, or coconut flour bread. Trying different gluten-free breads can help find the best one.
Dairy-Free and Vegan Options
For a vegan version, use dairy-free cheese and vegan butter. Nutritional yeast gives a cheesy taste without dairy. Vegan versions can be just as tasty and fulfilling.
Healthier Ingredient Substitutions
To make Cheesy Texas Toast healthier, try whole wheat bread instead of white. Use less butter or choose lower-fat cheese. These changes can cut calories and boost nutrition.
Being aware of ingredients and making smart swaps lets you enjoy Cheesy Texas Toast healthily. Whether you need gluten-free, dairy-free, or a healthier option, there are many ways to adapt it.
PrintCheesy Texas Toast

Cheesy Texas Toast is the ultimate garlicky, crispy, buttery side. Thick-cut bread gets slathered with a rich garlic-butter spread, crowned with a melty cheese blend, and baked until the edges are golden and the center stays tender. It’s simple to make, endlessly customizable, and perfect alongside pasta, soups, stews, or as a quick party appetizer.
- Prep Time: 10 minutes
- Cook Time: 10–14 minutes
- Total Time: 20–25 minutes
- Yield: 8 slices (about 4 servings)
- Method: Baking + Broiling
- Cuisine: American (Southern)
- Diet: Vegetarian
Ingredients
Bread & Cheese
-
8 slices thick-cut Texas toast–style bread (about 1-inch thick)
-
1 cup shredded mozzarella
-
½ cup shredded sharp cheddar
-
¼ cup finely grated Parmesan (optional but recommended)
Garlic Butter Spread
-
½ cup (115 g) unsalted butter, softened
-
3–4 garlic cloves, finely minced (or 1–1½ tsp garlic powder)
-
¼ tsp kosher salt
-
¼ tsp black pepper
-
1 Tbsp finely chopped parsley (or 1 tsp dried)
Optional Finishes
- Pinch red pepper flakes, to taste
-
1 Tbsp chopped chives or more parsley, for serving
Instructions
1) Heat the oven
Preheat to 375°F (190°C). Line a baking sheet with parchment or foil.
2) Make the garlic butter
In a bowl, mash together butter, garlic, salt, pepper, and parsley until smooth and spreadable.
3) Prep the bread
Arrange bread slices on the sheet. For extra crispiness, pre-toast plain slices for 3–4 min, flip, then proceed.
4) Spread & cheese
Generously spread garlic butter over the top of each slice (edge-to-edge). Top evenly with mozzarella, cheddar, and a dusting of Parmesan.
5) Bake
Bake until the cheese is melted and the edges are golden, 10–12 min (rotate the pan halfway for even browning).
6) Broil to finish (optional but great)
Switch to broil and toast 1–2 min until bubbly and spotty-golden. Watch closely.
7) Serve
Finish with red pepper flakes and chives if desired. Serve hot.
Notes
-
Bread choice: Thick, sturdy slices (Texas toast, challah, or country white) hold butter and cheese without getting soggy.
-
Garlic: Fresh gives the best aroma; jarred works in a pinch. Roasted garlic = sweeter, mellow flavor.
-
Cheese blend: Mozzarella = melt; cheddar = flavor; Parmesan = umami. Swap in provolone, gouda, or pepper jack to change the vibe.
-
Make-ahead: Assemble on a sheet, freeze until solid, then bag. Bake from frozen at 375°F/190°C for 15–20 min, broil to finish.
-
Reheating: Oven 325°F/165°C, 5–7 min. Avoid microwaving (softens/crisps poorly).
-
Diet swaps: Use gluten-free bread; dairy-free butter and vegan shreds if needed.
Conclusion
Making the ultimate Cheesy Texas Toast is easy and rewarding. You just need good bread, tasty garlic butter, and a mix of cheeses. This way, you get a dish that’s both garlicky and crispy.
The secret to great Texas Toast is its buttery, golden crust and the gooey cheese. With the tips from this article, you’re ready to make delicious Cheesy Texas Toast. Try different flavors like herbs or spices to find your favorite.
Whether it’s with pasta, as an appetizer, or with soups, Cheesy Texas Toast is a hit. It’s sure to become a favorite in your kitchen.
So, get ready to enjoy the rich flavors of garlicky, crispy, and buttery Texas Toast. It will make your meals even more special.
FAQ
What type of bread is best for making Cheesy Texas Toast?
A thick, soft, and slightly sweet bread works best. Think Texas Toast or similar white bread. It should hold the garlicky butter and cheese without getting soggy.
Can I use pre-minced garlic for the garlic butter spread?
Pre-minced garlic is okay, but fresh garlic is better. Mince the garlic cloves and mix with softened butter for a fragrant spread.
How do I achieve a crispy crust on my Texas Toast?
To get a crispy crust, bake the Texas Toast at the right temperature until golden. Then, broil for a minute or two to add crunch.
Can I make Cheesy Texas Toast ahead of time?
Yes, you can make the garlic butter spread and assemble the Texas Toast early. Store it in the fridge or freezer until baking time for a tasty result.
What are some roasted garlic variations I can try?
For roasted garlic flavor, roast a few cloves until soft. Then, mash and mix with butter and other ingredients for a rich taste.
Can I use different types of cheese for Cheesy Texas Toast?
Definitely! Try different cheeses like mozzarella, parmesan, or cheddar. This way, you can make a unique and tasty Cheesy Texas Toast.
How do I store leftover Cheesy Texas Toast?
Keep leftover Cheesy Texas Toast in an airtight container. Store it at room temperature or in the fridge to keep it fresh and buttery.