

Homemade Chocolate Nuts With Cocoa Powder turn a handful of pantry ingredients into rich little chocolate bites with a satisfying nutty crunch. Finely chopped toasted nuts run through the cocoa mixture, with a few more scattered over the top. A silicone mold gives them neat square edges like the bites in the photo, but a small lined container works too.
This version starts with unsweetened cocoa powder and food-grade cocoa butter rather than a bar of chocolate. There is no candy thermometer or boiling sugar syrup involved. The most important details are gentle heat, completely dry equipment, and enough chilling time before unmolding.
Why These Chocolate Nut Bites Work
Cocoa butter supplies the fat that lets cocoa powder set into a firm bite. Powdered sugar sweetens the mixture without the large crystals of ordinary granulated sugar, while toasted nuts add flavor and texture. The result is a simple homemade treat with a dark cocoa flavor. It is not tempered confectionery, so expect a softer bite and less consistent shine than store-bought chocolate.
Recipe Details
- Yield: About 16 small bites
- Prep: 20 minutes, including chopping and mixing
- Cook: 10 minutes for toasting, plus about 5 minutes to melt
- Chill: 60–90 minutes
- Total: About 1 hour 35 minutes to 2 hours 5 minutes
Ingredients
- ½ cup (65 g) finely chopped almonds or hazelnuts, measured after chopping
- ⅓ cup (75 g) finely chopped food-grade cocoa butter, weighed for accuracy
- ⅓ cup (30 g) unsweetened cocoa powder
- ⅓ cup (40 g) powdered sugar
- 1 small pinch fine salt
Use edible cocoa butter sold for baking or chocolate making. Cosmetic cocoa butter is not appropriate. Natural or Dutch-process cocoa powder will work here because the recipe contains no leavening. Dutch-process gives a rounder flavor; natural cocoa tastes a little sharper. Choose fresh nuts without a bitter or stale smell.
Equipment
You will need a small baking sheet, a heatproof bowl and saucepan for a gentle double boiler, a fine-mesh sieve, whisk, spatula, and a silicone mini-square mold on a tray. For a slab version, line a small loaf pan or similarly sized container with parchment, leaving an overhang for lifting.
How to Make Homemade Chocolate Nuts With Cocoa Powder
1. Toast, cool, and chop the nuts
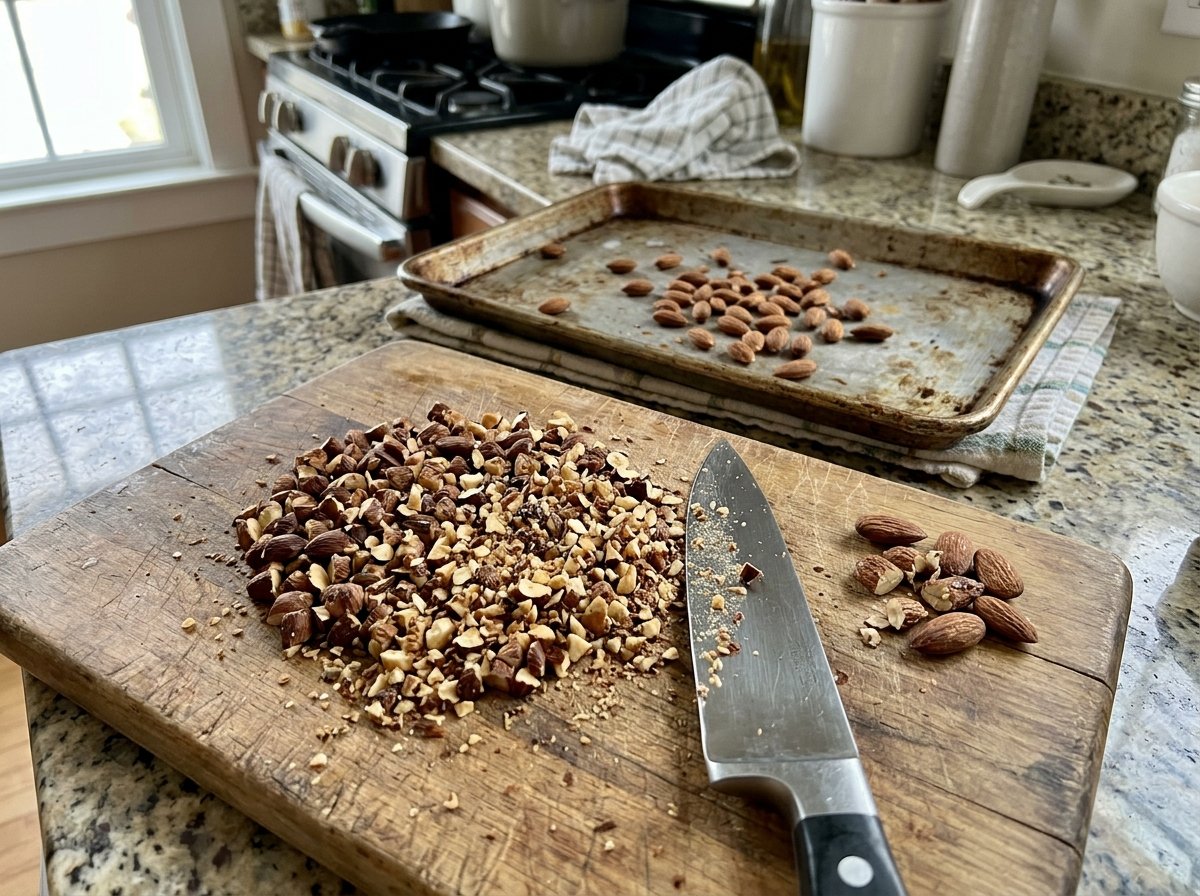
Heat the oven to 350°F (175°C). Spread the almonds or hazelnuts on a small baking sheet and toast for 7–10 minutes, stirring once, until fragrant. Let them cool completely, then chop finely. Measure ½ cup (65 g) of chopped nuts and reserve 2 tablespoons for the tops. Skip the oven if using already roasted nuts.
2. Melt the cocoa butter gently
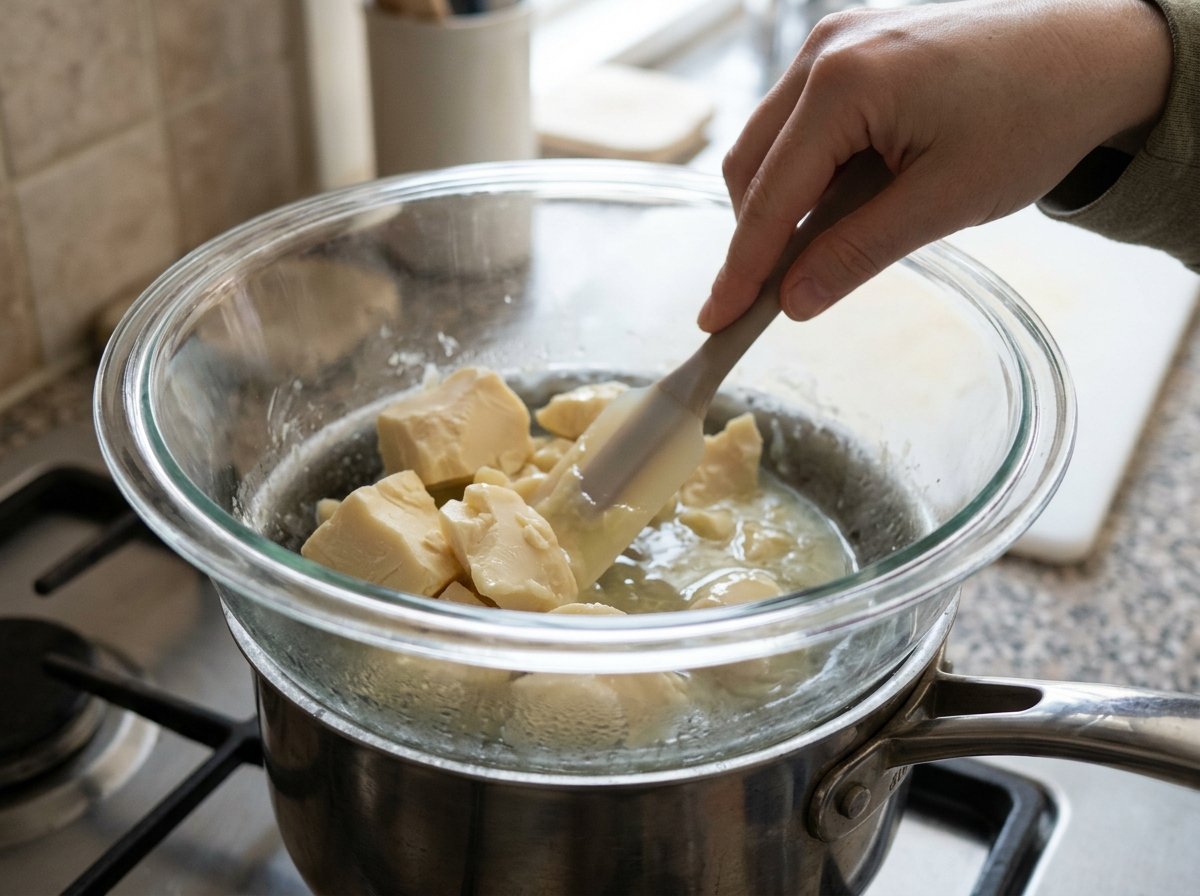
Place ⅓ cup (75 g) finely chopped food-grade cocoa butter in a completely dry heatproof bowl over a saucepan of barely simmering water. Keep the bowl above the water and stir just until melted. Remove the bowl from the pan and wipe its underside dry.
3. Sift the cocoa and sugar
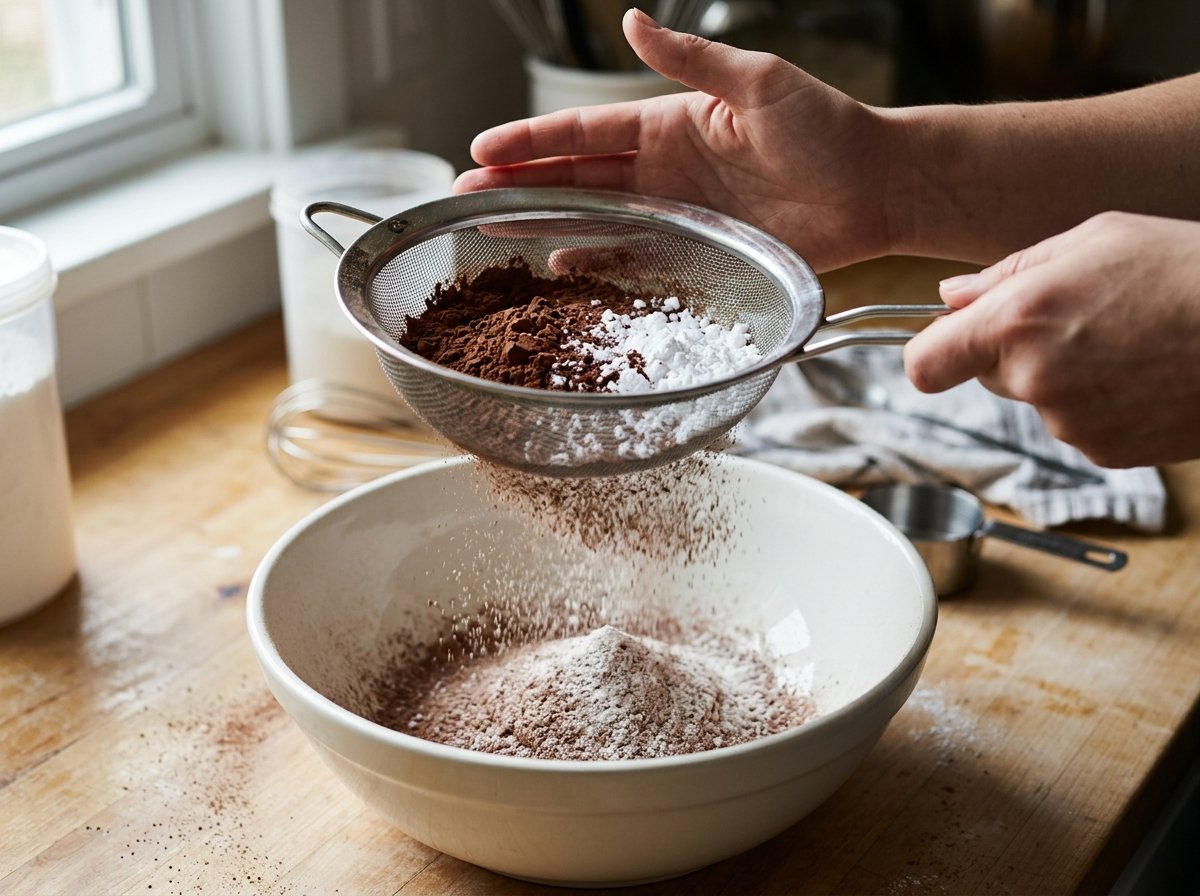
Sift ⅓ cup (30 g) unsweetened cocoa powder, ⅓ cup (40 g) powdered sugar, and a small pinch of fine salt into a separate dry bowl. Break up every visible lump. Powdered sugar blends more easily than granulated sugar, although homemade chocolate can still have a slightly rustic texture.
4. Whisk the chocolate mixture
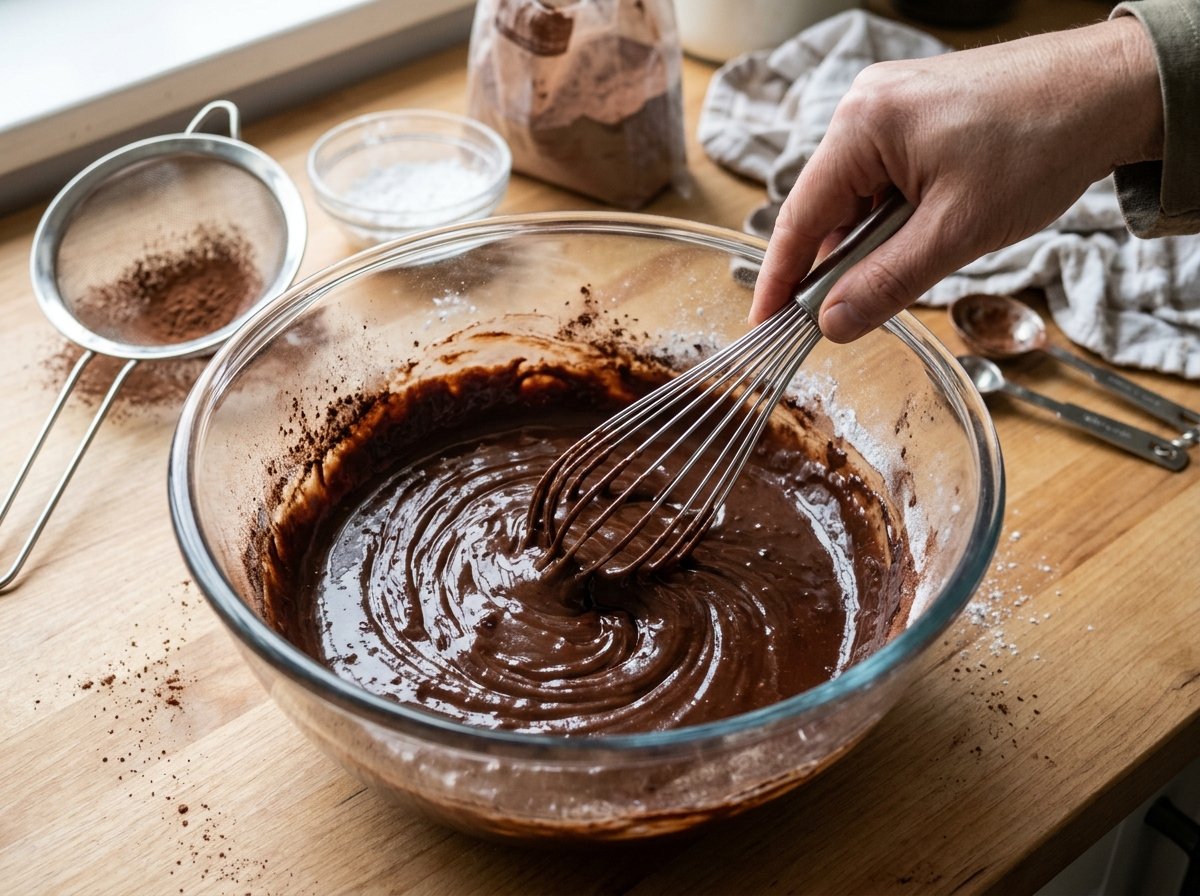
Add the sifted dry ingredients to the warm melted cocoa butter in three additions, whisking thoroughly after each one. Scrape the sides and bottom with a spatula. The mixture should be glossy and pourable with no dry pockets. If it thickens too quickly, set the bowl over the warm water briefly; do not add water or milk.
5. Fold in the chopped nuts
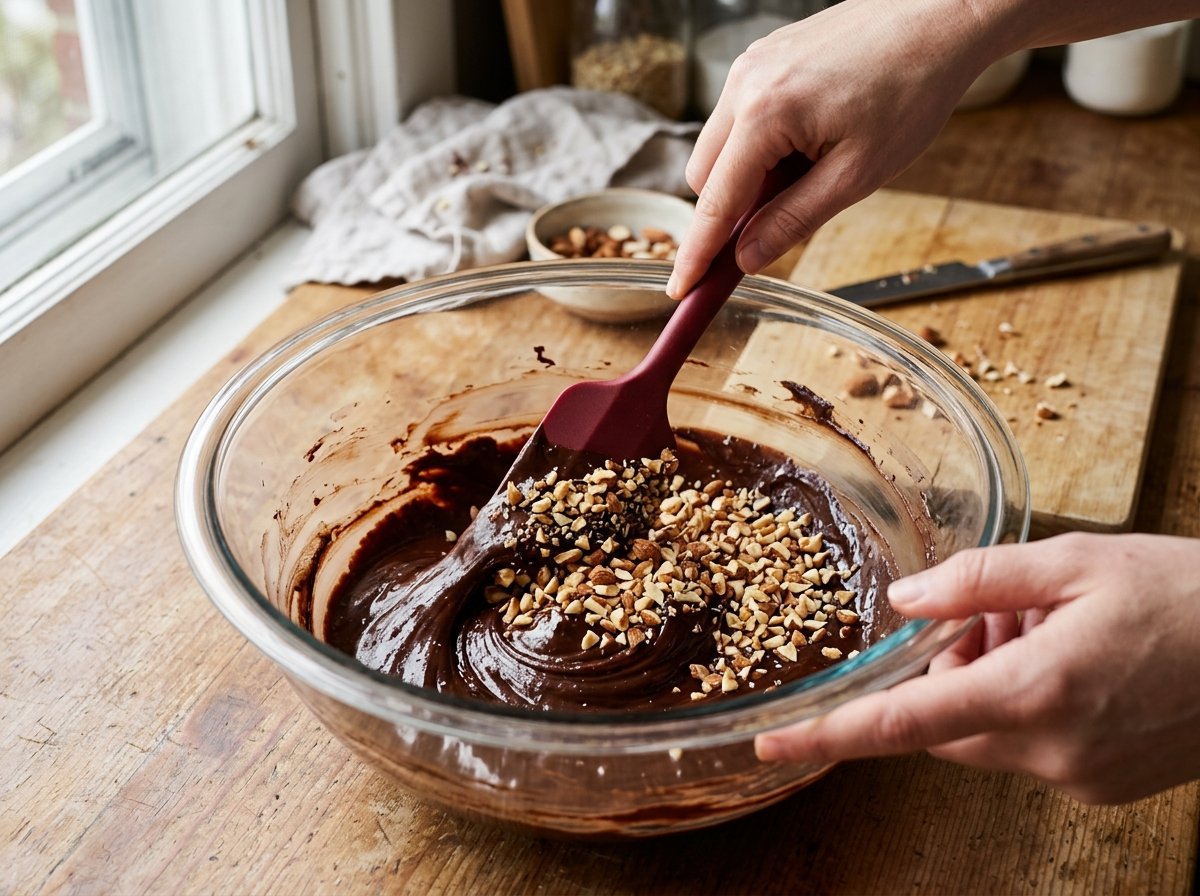
Stir the chopped nuts into the cocoa mixture, keeping the reserved 2 tablespoons aside. Mix until the nuts are evenly coated. Work while the chocolate is still fluid so every bite gets a similar amount of nuts.
6. Fill the molds and add the topping
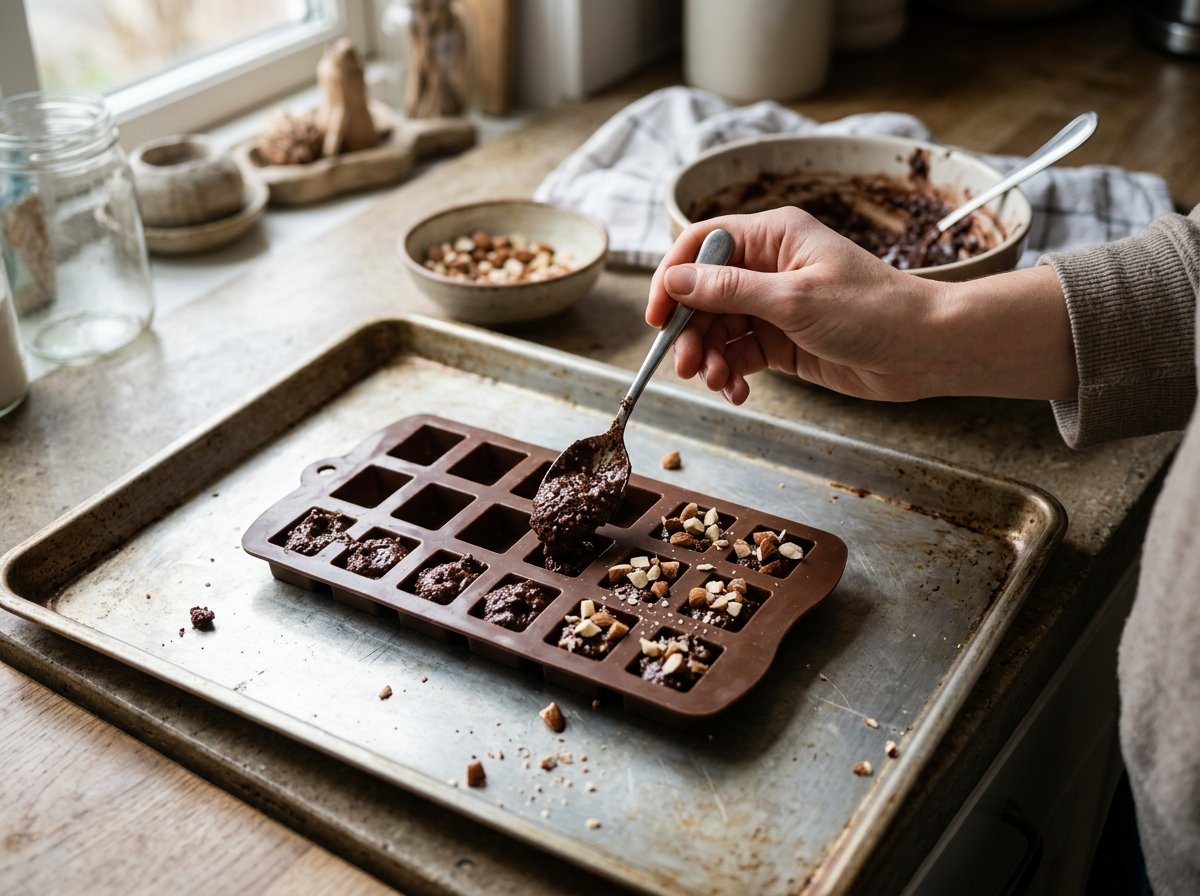
Set a clean, dry silicone mini-square mold on a small tray. Divide the mixture among about 16 small cavities, roughly 1 tablespoon per cavity depending on their size. Tap the tray gently to release air bubbles, level the tops, and sprinkle with the reserved nuts. Press the topping lightly into the chocolate.
7. Chill, unmold, and serve
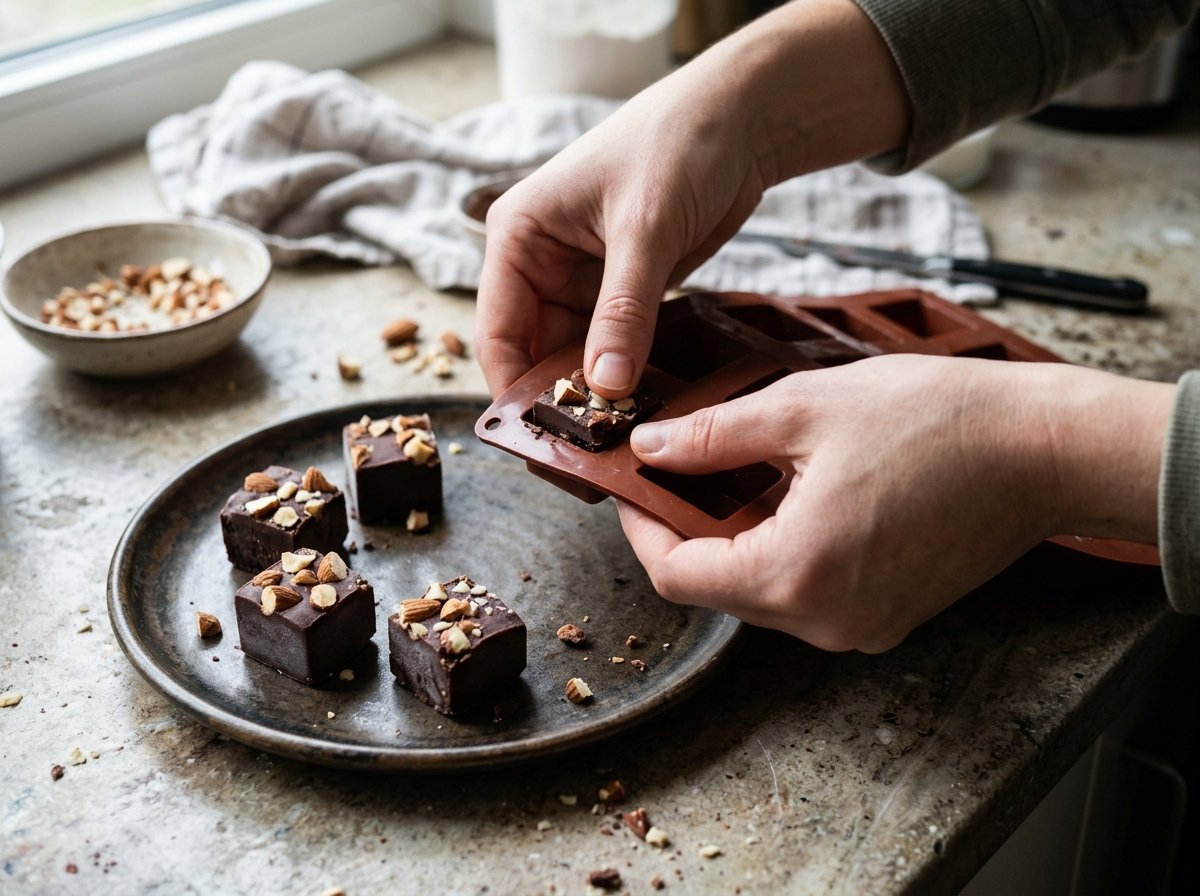
Refrigerate for 60–90 minutes, or until the centers are firm and release cleanly from the mold. Flex the silicone gently to unmold. Serve cool and store in an airtight container in the refrigerator. These untempered bites may soften or lose some shine at room temperature; keep them away from heat.
Tips for the Best Texture
Weigh the cocoa butter. Chunks and wafers pack differently in a measuring cup. The gram measurement gives a more consistent balance of fat and cocoa solids.
Keep water out. Steam, a wet spoon, or damp nuts can make the mixture clump. Cool toasted nuts before adding them and dry the mold thoroughly.
Chop nuts fairly small. Large pieces make tiny cavities harder to fill and can cause the bites to break when unmolded. Reserve a few slightly coarser pieces for an attractive topping.
Allow a full chill. A surface that looks set can hide a soft center. If a bite bends or sticks, give the whole tray another 20–30 minutes in the refrigerator.
Easy Variations
Use roasted peanuts for a familiar chocolate-peanut flavor, or try a mixture of almonds and hazelnuts. Keep the total amount of chopped nuts the same. A small pinch of cinnamon can be sifted into the cocoa mixture for warmth. If using salted nuts, omit the pinch of salt and taste the cooled mixture before molding.
For a slab, spread the mixture into the parchment-lined container, scatter the reserved nuts on top, and chill until firm. Lift it out and cut into small squares with a warm, dry knife. The thickness and number of pieces will depend on the container.
Storage and Serving
Keep the bites in a tightly closed container in the refrigerator for up to 2 weeks. Place parchment between layers to protect the tops. For longer storage, freeze in a freezer-safe container for up to 2 months. Thaw in the refrigerator with the container closed to help limit surface condensation.
Serve a few bites with coffee, or arrange them in small paper candy cups for a dessert tray. For gifts, keep them chilled until delivery and tell the recipient to refrigerate them. Avoid leaving them in a warm car or using them as a shelf-stable mailed candy.
Frequently Asked Questions
Can I use coconut oil instead of cocoa butter?
Coconut oil makes a different, much softer refrigerator candy and is not a direct texture match. Use cocoa butter for this recipe. If you want a coconut oil version, follow a recipe designed for that fat and keep the finished candy cold.
Can I use regular sugar or honey?
Granulated sugar will stay noticeably gritty because it does not dissolve in fat. Honey and other liquid sweeteners introduce moisture and change the texture. Use powdered sugar as written for the most predictable result.
Why is my mixture thick or grainy?
It may have cooled too much, the dry ingredients may contain lumps, or moisture may have entered the bowl. Gentle warmth can restore fluidity if cooling is the cause. Sifting helps with lumps, but home mixing will not produce the ultra-fine texture of commercially refined chocolate.
Do I need to temper these bites?
No. This is a simple chilled recipe. Tempering is a separate technique used for a more stable crystalline structure and a crisp snap. Refrigeration is part of this method, and a little surface dullness does not mean the bites have failed.
Can I make them without a silicone mold?
Yes. Use the lined-container method above or spoon small clusters onto parchment. Let them become completely firm before moving them.
Allergen note: This recipe contains tree nuts. Check every ingredient label when cooking for someone with an allergy.